How Do I Test a Fuel Gauge in 5 Simple Steps
Are you tired of guessing how much fuel is left in your tank? Many car owners struggle with inaccurate or failing fuel gauges, which can be frustrating and even dangerous. Don’t worry—you’re not alone, and testing your fuel gauge is easier than you might think.
To test your fuel gauge in five simple steps, start by understanding how it works with the sending unit sensors and wiring. Then, prepare your car by checking for corrosion or damage on the sensor and wiring connections.
Next, disconnect the sending unit and use a multimeter to test its response by moving the float. Finally, test the gauge itself with the multimeter and interpret the results to spot any issues.
Keep going for more easy tips and detailed guidance.
Key Takeaways
- Disconnect the wiring from the fuel gauge and set your multimeter to measure voltage.
- Turn on the ignition without starting the engine to power the gauge.
- Check for stable voltage readings at the gauge; if you see fluctuations, that could point to wiring issues.
- Make sure the fuel sending unit is connected correctly and working by testing its response with a multimeter.
- If the gauge needle stays stuck or shows inconsistent readings, double-check the calibration and wiring connections.
Understand How Your Vehicle’s Fuel Gauge Works
Understanding how your vehicle’s fuel gauge works is important before testing it. Your fuel gauge depends on sending units inside the fuel tank that measure how much fuel is left. These send signals to the dashboard to show the level.
Knowing your fuel tank size helps you interpret the readings accurately—whether you have enough fuel or need a refill. Driver habits also affect the gauge; aggressive driving or sudden stops can cause fluctuations or inaccuracies.
Get familiar with how full the tank should look at different fill levels and how the gauge responds during normal driving. Sometimes, worn wiring or faulty sensors can cause slight delays or odd readings.
Recognizing these patterns helps you figure out if the gauge is working properly. In short, understanding your fuel tank capacity and how driving habits affect fuel use can help you determine if your gauge is accurate or needs checking.
Prepare Your Car for Fuel Gauge Testing
Are you ready to test your fuel gauge accurately? Before you start, make sure your fuel tank is properly calibrated. If you’ve modified or replaced the tank, it might need recalibration to match the gauge readings correctly. This helps you avoid misleading results during testing.
Next, check the sensor that monitors your fuel levels. Look for signs of corrosion, damage, or inconsistent readings. If you notice any issues, consider replacing the sensor. Cleaning and inspecting it properly can also improve accuracy.
Before testing, also double-check that the wiring connections to the fuel sending unit are secure and free of corrosion. Removing the fuel cap to make sure there’s a clear, accessible path to the sensor can make the process smoother.
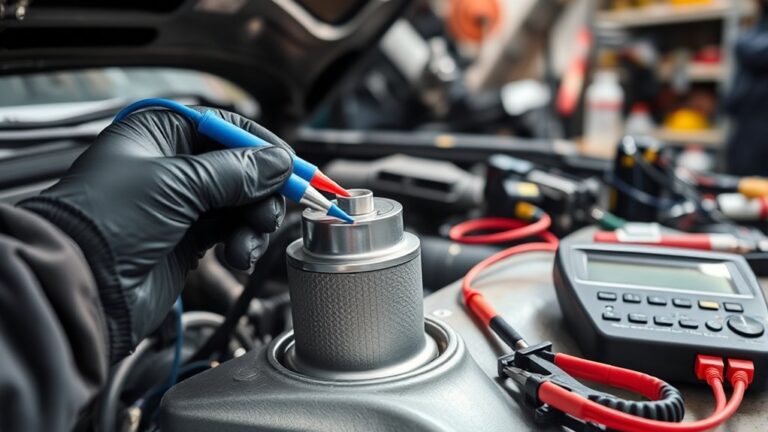
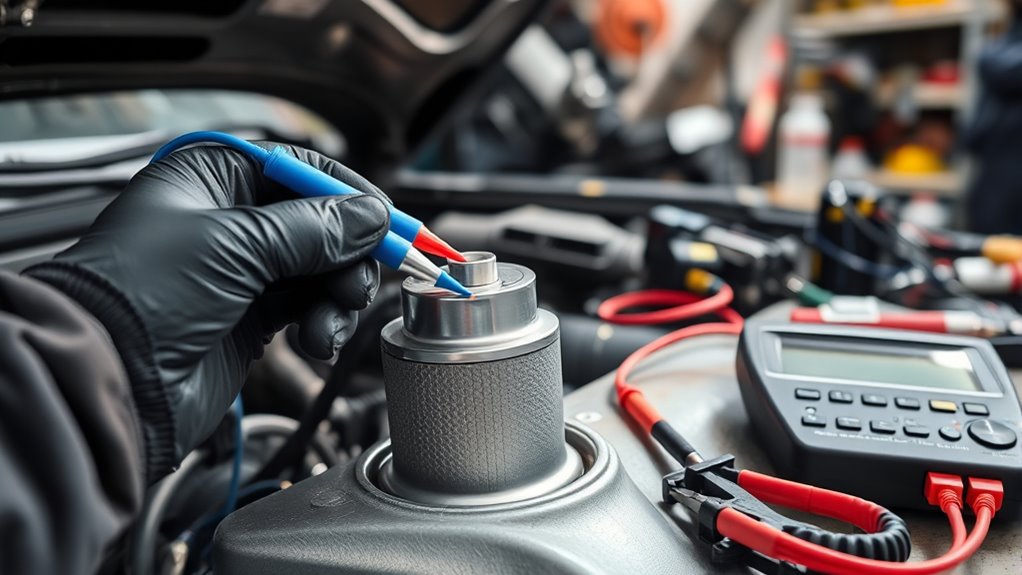
Perform a Simple Electrical Check on the Fuel Sending Unit
To make sure your fuel gauge is working properly, start by doing a simple electrical check on the fuel sending unit. The sender tells the gauge how much fuel is in the tank.
First, find the sender in your fuel tank and disconnect the electrical connector. Then, set your multimeter to the right voltage range and perform a test.
Connect the multimeter’s positive lead to the sender’s power wire and the negative lead to the ground. Turn on your car’s ignition, but don’t start the engine.
If the sender is working correctly, you’ll see a voltage reading that changes as you gently tip the tank or move the float. This shows the sender is getting power and responding.
A steady or zero reading could mean there’s a problem with the wiring. In that case, you might need to do more testing or consider replacing the sender.
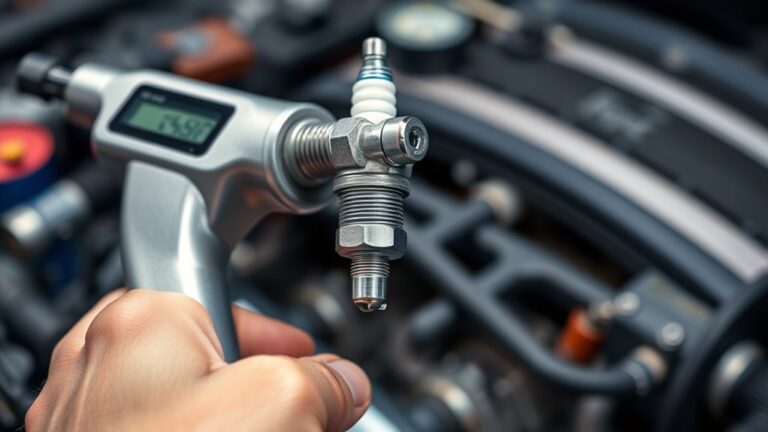
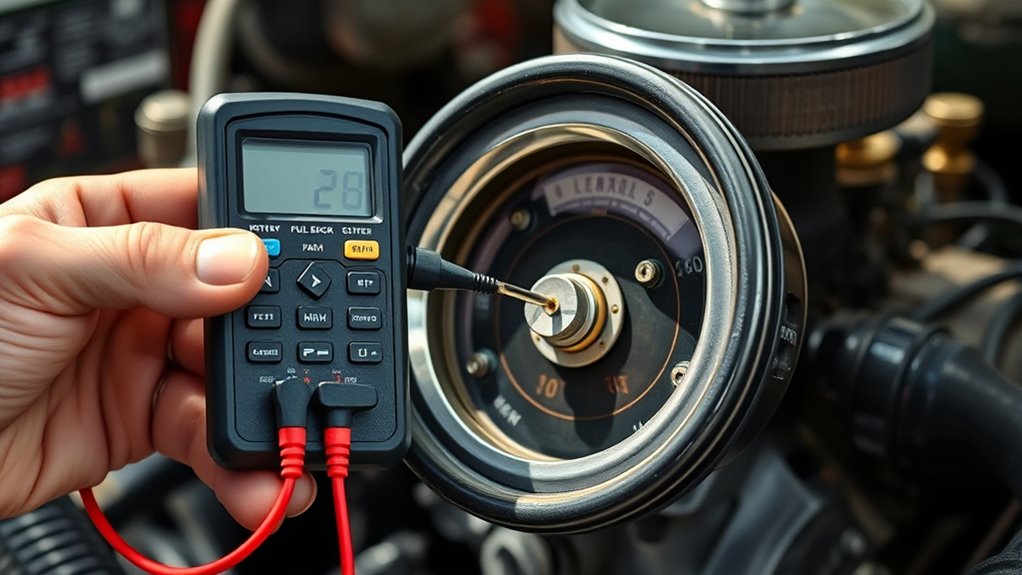
Use a Multimeter to Test Your Fuel Gauge
Once you’ve checked the electrical signals from the fuel sender, the next step is to see if your fuel gauge is working correctly. Grab a multimeter set to measure voltage or resistance.
First, disconnect your fuel gauge’s wiring connector. Turn on your vehicle’s ignition, but don’t start the engine, so the electrical system is active.
Next, connect the multimeter leads to the gauge’s wires, usually found at the back of the dash. If you see inconsistent or no voltage readings, your fuel gauge might be faulty, which can affect calibration.
If the voltage readings are steady but the needle doesn’t move, then the problem could be with the fuel sensor. Replacing the sensor can fix the issue and help recalibrate your fuel gauge for accurate readings.
Using a multimeter helps you figure out whether the problem is with the gauge itself or the sensor. That way, you can focus on the right repairs to get it working properly again.
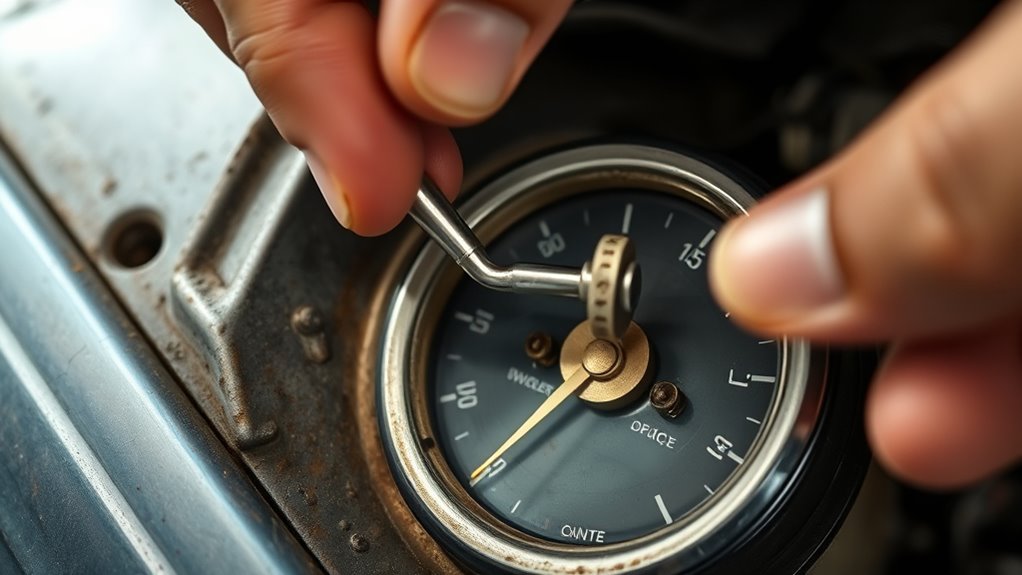
Interpret Results and Troubleshoot Common Fuel Gauge Issues
Interpreting your fuel gauge results is key to figuring out the problem. If it reads empty even when the tank is full or fluctuates unexpectedly, there might be an issue with the fuel calibration or sensor alignment.
For example, a steady false reading suggests calibration errors, while erratic movements usually mean the sensor is misaligned. Recognizing these signs helps you troubleshoot more effectively.
| Issue | Possible Cause |
|---|---|
| Fuel gauge stuck on empty or full | Faulty fuel calibration or wiring |
| Fluctuating readings | Sensor misalignment or dirty sensor |
| Always reads half | Incorrect sensor calibration or connection |
To troubleshoot, start by checking the sensor’s alignment and making sure all wiring connections are secure. Recalibrating the gauge can often fix inaccurate readings. Regular sensor maintenance and calibration help ensure reliable fuel level detection and prevent future problems.
Staying proactive with these checks can help you avoid running out of fuel unexpectedly.
Frequently Asked Questions
Can a Faulty Fuel Gauge Cause the Car to Stall?
Yes, a faulty fuel gauge can cause your car to stall. If the fuel sensor malfunctions, it might send inaccurate readings, which could lead to power fluctuations or the engine unexpectedly running out of fuel.
This miscommunication becomes a problem especially if your fuel gauge shows a full tank when the fuel level is actually low. Addressing the fuel sensor issue ensures your fuel readings are correct, helping to prevent stalling caused by improper fuel management.
How Often Should I Test My Fuel Gauge?
You should test your fuel gauge every 6 to 12 months to ensure it’s giving accurate readings. Regular checks help you spot issues with calibration or the fuel tank sensor early on.
Keep an eye out for inconsistent readings or sudden drops, as these could indicate a problem. Catching these early means you can fix them before they turn into bigger issues.
Is It Safe to Test the Fuel Gauge Myself?
Testing your fuel gauge yourself can be safe if you follow proper precautions and have some basic knowledge. For a DIY calibration, make sure your vehicle is off and the battery is disconnected before working with the electrical system.
However, if you’re unsure or encounter complicated issues, it’s best to seek a professional inspection to prevent damage or inaccuracies. Proper testing helps keep your vehicle safe and ensures your gauge works correctly.
What Are Signs of a Failing Fuel Sending Unit?
If you notice your fuel gauge’s needle fluctuating or staying on empty despite a full tank, it could mean your fuel sending unit is failing.
You should check the fuel sensor and the electrical connection, as faulty wiring can interfere with readings.
A consistent, inaccurate reading suggests that either the fuel sensor is faulty or there’s an issue with the electrical connection. Both problems need attention to ensure your fuel level is correctly indicated.
Can External Factors Affect Fuel Gauge Accuracy?
Yes, external factors can affect your fuel gauge accuracy. Sensor calibration issues may cause incorrect readings, especially if the sending unit isn’t properly calibrated.
Electrical interference from nearby devices or faulty wiring can also disrupt signals between the fuel tank sensor and gauge, leading to false readings.
To keep your fuel gauge accurate, make sure sensors are calibrated correctly and check for electrical problems or interference sources in your vehicle.
Conclusion
Now that you’ve got the steps down, you’re closer to knowing exactly what’s wrong with your fuel gauge.
But what if the problem isn’t as straightforward as a loose wire or a faulty sender? Your next move could uncover something unexpected—something you didn’t see coming.
Are you ready to uncover the hidden issue? Keep testing, stay curious, and just maybe, the mystery will be solved sooner than you think. When it comes to diagnosing a malfunctioning fuel gauge, thorough testing is key.