
How to Change an Oil Filter Without Tools in 10 Steps
Changing your oil filter without tools can seem tricky, especially if you’re not a car expert. Many people struggle with the right way to do it, feeling unsure or worried about making a mistake. But don’t worry—it’s actually pretty simple once you know the steps.
First, make sure the engine is cool and safe to work on, then locate and access the filter.
Wrap a cloth or glove around the filter for grip, and gently turn counterclockwise to loosen it.
Prepare the new filter by lubricating its gasket.
Then screw it in by hand, ensuring it’s tight.
Afterward, refill the engine oil, check the level, and dispose of the old filter properly.
Stay tuned to see how each step keeps your car running smoothly.
Key Takeaways
- Locate the oil filter and make sure the engine is cool so you can handle it safely.
- Use household items like gloves or towels to grip and loosen the filter by hand.
- Turn the filter counterclockwise while tilting it to let the oil escape safely into a basin.
- Lubricate the rubber seal on the new filter and hand-tighten it firmly into place.
- Check for leaks and make sure the filter is secure. Then refill the engine and check the oil levels.
Why You Can Change Your Oil Filter Without Special Tools
Changing your oil filter doesn’t require special tools because most filters can be removed by hand or with basic household items.
Oil filters can usually be removed by hand or with simple household tools—no special equipment needed.
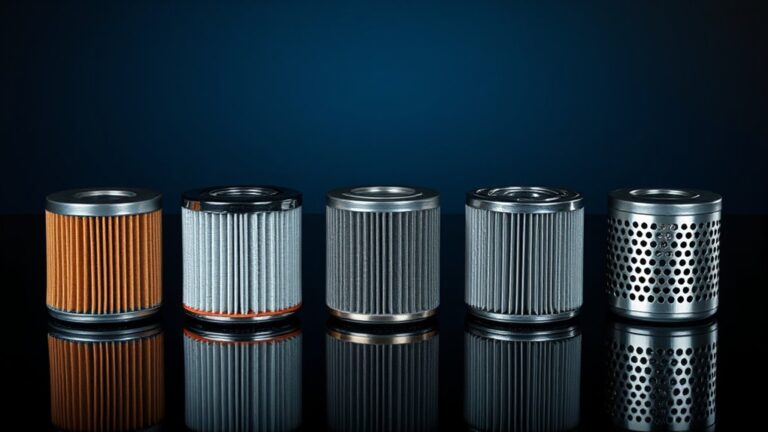
The key is understanding the oil filter materials—most are made with rubber seals and corrugated metal bodies that are easy to grip and turn.
You don’t need specialized shop tools; your hands, a rag, or a simple strap wrench usually do the trick.
Many DIY enthusiasts prefer this approach because it makes the process straightforward, saving time and money.
Different oil filters come in various sizes and designs, but they’re generally accessible for a typical homeowner.
Knowing how to handle the materials and understanding their simple construction allows you to remove and replace filters confidently.
Plus, this hands-on experience improves your skills and confidence in taking care of your vehicle.
It also makes future oil changes quicker and more economical.
Gather Household Items Needed to Remove the Oil Filter
You don’t need fancy tools to remove your oil filter—most household items will do the job just fine. Simple household remedies and DIY techniques can make this task straightforward.
Common items include a rag, rubber gloves, a flathead screwdriver, or even a sturdy piece of cardboard. These household items can help loosen the filter or catch drips without special equipment.
| Household Item | DIY Technique |
|---|---|
| Old rag | Wipe and hold the filter to get a better grip |
| Rubber gloves | Protect your hands from oil mess |
| Flathead screwdriver | Pry around the edge of the filter |
| Cardboard | Use as a barrier to catch dripping oil |
| Old towel | Contain spills during removal |
These household remedies are effective tools, making the process simple and cost-efficient. No need to buy extra tools—just gather a few household items to help you remove the oil filter easily using DIY techniques.
Make Sure the Engine Is Cool and Safely Supported
Have you ever tried working on a hot engine? If the engine temperature is high, you risk burns and injuries.
Always let your engine cool down for at least 30 minutes before starting any work. When the engine is cool, it’s safer to handle parts and avoid accidental burns from hot components.
Safety precautions are essential. Don’t rush and wear gloves if possible. Verify your vehicle is parked on a flat surface and engage the parking brake for added stability.
If you’re working underneath the vehicle, use jack stands or ramps to support it securely. Never rely solely on a jack. Supporting the vehicle properly prevents slips or accidents.
Confirm the engine is cool and securely supported before proceeding. This step minimizes risks and protects you from injury during the oil filter change process.
Safety always comes first when working on your vehicle.
Locate and Access Your Oil Filter Safely
To access your oil filter safely, start by locating it in your vehicle’s engine bay or underneath the chassis, depending on your car’s make and model.
Some oil filters are easy to spot, like the canister style, while others can be hidden behind engine parts.
Some filters are visible, but others are hidden behind engine components.
Picture yourself rolling under the car or leaning into the engine bay, looking for a metal or plastic canister, usually near the oil pan or labeled clearly.
To help you visualize, keep these key points in mind:
- It’s a round, metal or plastic housing, often with grips or tabs for easy removal.
- It’s positioned near the oil pan and may be accessible through a panel or shield.
- You should be able to reach it with your hands or with tools if needed.
Using the right tools makes access easier, especially if your filter is stubborn.
Familiarize yourself with your specific oil filter type, and keep alternative tools handy to avoid unnecessary hassle.
Loosen the Oil Filter Using Household Items Like Gloves or Cloths
When loosening the oil filter, household items like gloves or cloths can be surprisingly helpful. They give you extra grip and keep your hands clean from dirt or hot surfaces during DIY work.
Using everyday items can make the job much easier without needing special tools. Wrap a cloth or thick glove around the filter to get a better grip, especially if it’s really stuck.
Here’s a quick look at some household options:
| Household Items | Effectiveness |
|---|---|
| Rubber gloves | Increase friction and keep your hands clean |
| Old T-shirts | Soft and pliable for a good grip |
| Dishcloth | Absorbs oil and improves hold |
| Rubber pad | Prevents slipping |
| Towels | Great for stubborn filters |
These simple household tricks can help you loosen the filter safely and efficiently. This way, DIY maintenance becomes much easier even without special tools.
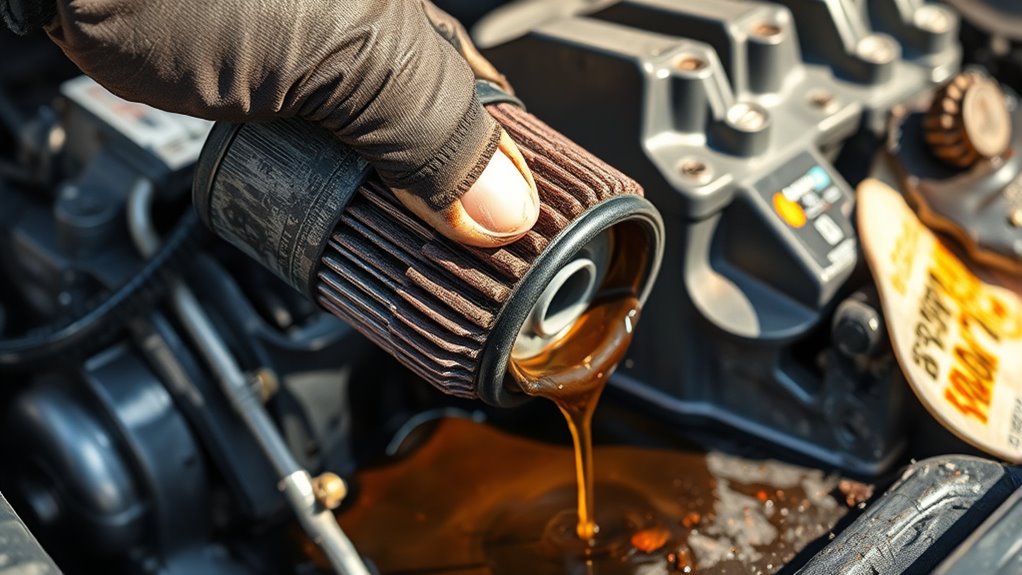
Carefully Remove the Old Oil Filter Without Spills
Before removing the old oil filter, place a catch basin or oil pan underneath to catch any dripping oil. This keeps things tidy and helps with a more accurate filter change.
When you’re ready to remove the filter, turn it counterclockwise by hand, gripping it firmly. A steady, gentle twist works best to avoid spills.
Tilt the filter slightly as you loosen it so excess oil can drip into the basin. This prevents messes and makes the process cleaner.
Use household tools like a rag or cloth to grip stubborn filters if they’re tight or slips occur. Rags also help protect nearby surfaces from oil drips.
Take your time slowly and steadily to remove the filter. It’s normal for a little oil to escape as you unthread it, but patience keeps everything clean.
Prepare and Hand-Tighten the New Oil Filter
Before you install the new oil filter, make sure you’ve got all the supplies you need. Don’t forget to lubricate the rubber seal with a little fresh oil—it helps everything fit nicely and prevents leaks.
Next, carefully tighten the filter by hand until it’s snug. Just remember, you want it secure but not too tight. Tightening it properly ensures a good seal and helps avoid any leaks down the road.
Gather Necessary Supplies
Gathering your supplies is the first step to ensure a smooth oil filter change. Having the right tools and parts helps you avoid common mistakes and keeps the process safe.
You’ll need a new oil filter that fits your vehicle, a clean rag or paper towels, and gloves to keep your hands clean. Imagine the new filter resting nearby, ready to be installed, and the rag for wiping excess oil.
Making sure you have the correct filter prevents leaks and engine damage. The oil filter’s job is to trap contaminants, so using the wrong one or rushing the hand-tightening can cause issues later.
Double-check your supplies before starting to avoid interruptions and risky shortcuts. Being prepared minimizes errors and makes the replacement safer and more efficient.
Lubricate Rubber Seal
To ensure a proper seal and prevent leaks, generously lubricate the rubber gasket on your new oil filter with a bit of fresh engine oil. This makes installation smoother and helps the rubber grip the engine better.
Think of the gasket as a tight-fitting ring that needs to sit flush against the engine surface:
| Gasket Position | Seal Contact Points |
|---|---|
| Resting evenly on the filter | Even pressure across gasket |
| Lubricated with oil | Creates a leak-proof seal |
| Hand-tightened in place | Ensures a snug fit |
This simple step helps keep the oil seal intact and extends the life of your filter.
Hand-Tighten Securely
- Gasket compresses evenly, forming a tight seal.
- Threads catch smoothly with no cross-threading.
- Resistance increases steadily as you tighten it.
This guarantees a secure, leak-proof connection with minimal effort.
Verify the New Oil Filter Is Secure and Leak-Free
Before starting the engine, it’s essential to verify the new oil filter is properly secured and free of leaks.
Ensure your new oil filter is securely installed and free of leaks before starting the engine.
After hand-tightening, inspect the filter carefully. Check if it’s snug and aligned correctly.
If you’re using tool alternatives, make sure you didn’t over-tighten, which can cause damage or leaks.
Look closely at the gasket to confirm it’s seated properly against the mounting surface. Run your hand lightly around the filter’s edges to detect any escaping oil.
If you notice drips or weeping, tighten the filter slightly more, but avoid excessive force. Double-check the filter’s position and ensure it’s secure without wobbling.
Make sure the gasket isn’t pinched or misplaced. Properly securing the oil filter prevents leaks and future issues, saving you time and mess during the refill process.
Taking these steps guarantees your oil change is complete and successful.
Refill Engine Oil and Check the Oil Level
Have you prepared the right amount of fresh engine oil and gathered the necessary tools? Now it’s time to refill your engine and check the oil levels to keep your oil filter working properly.
First, locate the oil filler cap, usually marked “oil” or with an oil can symbol. Remove the cap and carefully pour in small amounts of new oil, stopping to check the level often.
Imagine watching the shiny oil fill the engine’s opening as you add oil gradually. Be gentle to avoid overfilling, and wipe the oil dipstick clean before reinserting it.
After adding oil, reinsert and remove the dipstick to check the level. It should be between the “low” and “full” marks. If it’s below the recommended level, add a bit more oil.
Checking your engine oil levels properly keeps your vehicle running smoothly and helps your oil filter stay effective.
Properly Dispose of the Old Oil Filter and Used Oil
When you’re ready to get rid of your old oil filter and used oil, make sure to use designated containers. This helps prevent any leaks or spills, which is always a good idea. It’s also really important to follow your local environmental rules—these are there to keep everyone safe and to prevent fines.
Taking the time to dispose of these materials properly makes a big difference. It stops hazardous substances from harming our waterways and wildlife, so it’s a simple step you can take to protect the planet.
Safe Oil Collection Methods
Properly disposing of the old oil filter and used oil is essential for protecting the environment and following local regulations.
After changing the oil filter, carefully collect the used oil to avoid spills. Use a clean, leak-proof container, preferably made of sturdy plastic, to hold the oil.
Imagine placing a sturdy dishpan or an old jug nearby to catch drips as you work. Keep your household tools organized so you don’t accidentally cause a mess.
When you’re ready, seal the container tightly and label it as hazardous waste. Never pour used oil down drains, onto the ground, or into storm drains.
Proper collection keeps your driveway clean and prevents contamination. Following these safe methods helps protect wildlife and ensures responsible recycling.
Proper Disposal Containers
Are you choosing the right disposal containers for your used oil and filter? The containers should be sturdy, leak-proof, and clearly labeled for hazardous waste.
Check the oil filter specifications to see if it can go in regular trash or needs special handling. Always follow the manufacturer’s instructions, which usually recommend storing used oil and filters in approved plastic or metal containers.
Avoid mixing used oil with other substances to prevent contamination. Make sure the containers are tightly sealed to prevent spills during transport.
Proper disposal containers help ensure safe, responsible disposal and reduce environmental risks. Once filled, take the containers to an authorized disposal or recycling center, following local waste regulations.
Environmental Regulations Compliance
Disposing of used oil and filters in line with environmental regulations is essential for protecting our planet and staying legally compliant. Proper disposal helps prevent water contamination and cuts down on air pollution, supporting renewable energy efforts.
When you dispose of your oil and filters responsibly, you’re helping create cleaner air and a healthier environment. Think about placing used oil in sealed, labeled containers and taking it to authorized recycling centers. Avoid illegal dumping at all costs.
Imagine your used filter being safely transported to a recycling facility that reclaims resources, keeping hazardous waste out of landfills. This responsible approach not only meets local regulations but also reduces your carbon footprint and protects natural resources.
Frequently Asked Questions
How Often Should I Change My Oil Filter?
You should change your oil filter during every oil change, which is usually every 3,000 to 5,000 miles, or as recommended by your vehicle’s manufacturer. This maintenance is key to keeping your engine clean and running smoothly.
The ideal replacement frequency can vary, so it’s a good idea to check your owner’s manual for specific guidelines.
Regularly swapping out the filter ensures the oil flows properly and keeps your engine performing at its best. This simple step can help prevent costly repairs later on.
Can I Reuse a Removed Oil Filter?
You should not reuse a removed oil filter because of reuse concerns; filters are designed for one-time use and may not effectively trap debris after removal. Reusing a filter can lead to engine damage or reduced performance. Proper filter disposal is essential for environmental safety.
Instead of reusing, install a new filter during each oil change. This guarantees maximum engine protection and helps avoid potential issues from contaminated or compromised filters.
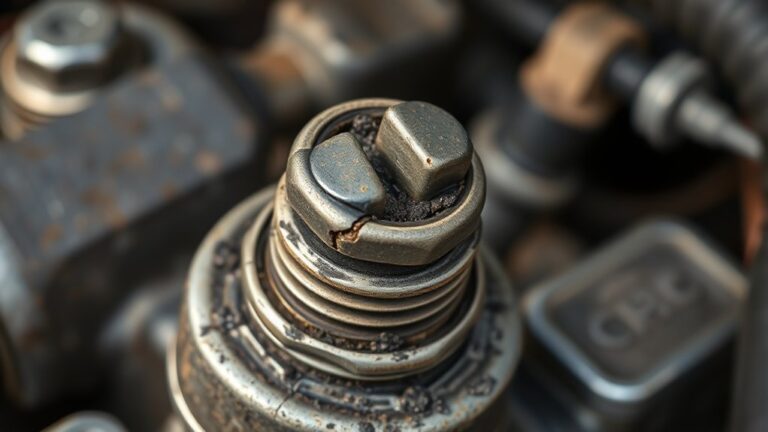
What Are Signs of a Bad Oil Filter?
Ever notice your engine’s performance dropping unexpectedly? That’s a sign of a bad oil filter.
As it nears the end of its lifespan, you might see signs like clogging, engine misfires, reduced fuel efficiency, or dark, dirty oil.
These clues are telling you it’s time to replace your oil filter.
Ignoring these signs can put your engine at serious risk, so it’s best to stay alert.
Make sure to change the filter before any major damage happens.
Catching the problem early keeps your engine running smoothly and saves you money in the long run.
Is It Safe to Change the Oil Filter in Cold Weather?
Changing your oil filter in cold weather can be safe if you take the right precautions. Make sure your engine is cool before starting to avoid burns, and work in a well-ventilated area.
Use gloves and protective eyewear to prevent injury from oil or debris. Cold temperatures might make the filter harder to remove, so take your time and be patient.
How Long Does It Take to Change an Oil Filter?
Changing an oil filter usually takes about 15 to 30 minutes, depending on your experience. As you’re handling oil filter disposal, it’s a great time to think about your filter options—whether you prefer standard or high-efficiency filters.
Having everything ready before you start speeds up the process. Gathering the filters ahead of time makes the job quicker and less stressful. You’ll find that the whole change becomes smoother and more efficient.
This saves you time, so you have more moments for your next adventure or other maintenance tasks.
Conclusion
Changing your oil filter without special tools is simple and budget-friendly. Did you know that regular oil changes can extend your engine’s life by up to 50%?
By following these easy 10 steps, you’ll save money and gain confidence in maintaining your vehicle.
Just remember to dispose of your old filter responsibly. With a little effort, you can keep your engine running smoothly without costing a fortune or needing professional help.
For a straightforward way to maintain your vehicle, try changing your oil filter without tools.