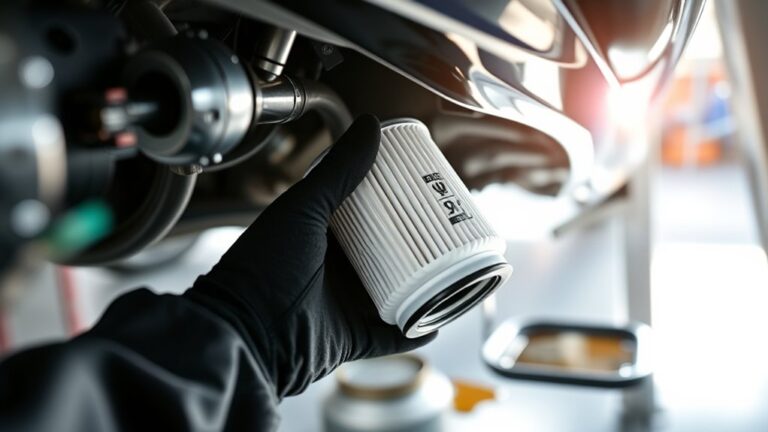

How to Reset the Check Engine Light After Changing Spark Plugs in Five Easy Steps
Many car owners know the frustration of seeing the check engine light come on, especially after doing simple repairs like changing spark plugs. You’re not alone—this can be confusing, but luckily, resetting that light is easier than you might think.
After changing your spark plugs, you can reset the check engine light in five easy steps.
First, confirm the vehicle is in an off state.
Next, start the engine and let it run for about 10 minutes to allow the system to recognize the new parts.
Then, turn off the engine and disconnect the battery for about 10 minutes to reset the system.
Reconnect the battery, start the engine, and check if the light turns off.
If you want to understand more about guaranteeing proper reset and troubleshooting, keep exploring.
Key Takeaways
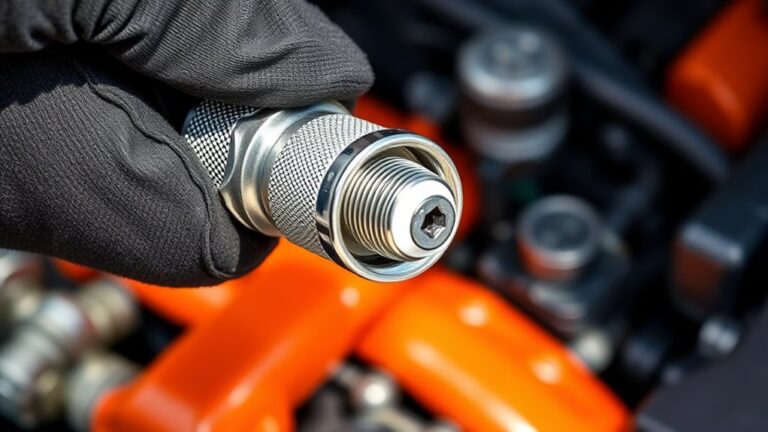
- Make sure all your spark plugs and related parts are properly installed and tightened. Double-check that everything is in place before moving on.
- Next, disconnect the negative terminal of your vehicle’s battery. This will temporarily reset the onboard computer.
- Once you’ve disconnected the battery, reconnect it and turn the ignition on without starting the engine. Wait a few seconds to let the system reset.
- Start your engine and drive for about 50 to 100 miles. This will help the system recalibrate and usually turn off the check engine light naturally.
- If the light stays on after you’ve driven enough, connect an OBD-II scanner and clear any remaining error codes.
Why Does the Check Engine Light Stay On After Spark Plug Replacement?
After replacing your spark plugs, the check engine light might stay on because the vehicle’s onboard computer hasn’t yet registered the new parts or finished its diagnostics.
After spark plug replacement, the check engine light may stay on until the computer finishes diagnostics.
The system keeps an eye on things like fuel efficiency and tire pressure, which can trigger the light if it spots irregularities. If the computer hasn’t completed its self-check, it may keep the warning on.
Poor tire pressure can also cause engine performance issues that alert the system, even if they’re not related to the spark plugs. Sometimes, the computer needs a bit of time or a drive cycle to recognize the new spark plugs and adjust engine settings.
Until that happens, the check engine light stays on, acting as a reminder that the system hasn’t finished its diagnostics after your maintenance. Once the computer registers everything properly, the light will turn off on its own or after a reset.
Can You Reset the Check Engine Light Without a Scanner?
Keep in mind, though, this doesn’t fix the underlying issue. It’s just a temporary reset that might improve fuel efficiency and help your vehicle meet emission standards.
Another method is to turn the ignition key on and off several times. This might reset the indicator if the problem has been already fixed.
But these tricks may not work for all vehicles or if the issue is persistent. Disconnecting the battery can also clear trip history and reset your radio presets.
If the check engine light stays on, it’s best to diagnose the problem with a scanner or see a professional. This way, you can be sure your car is running properly and meets emission standards.
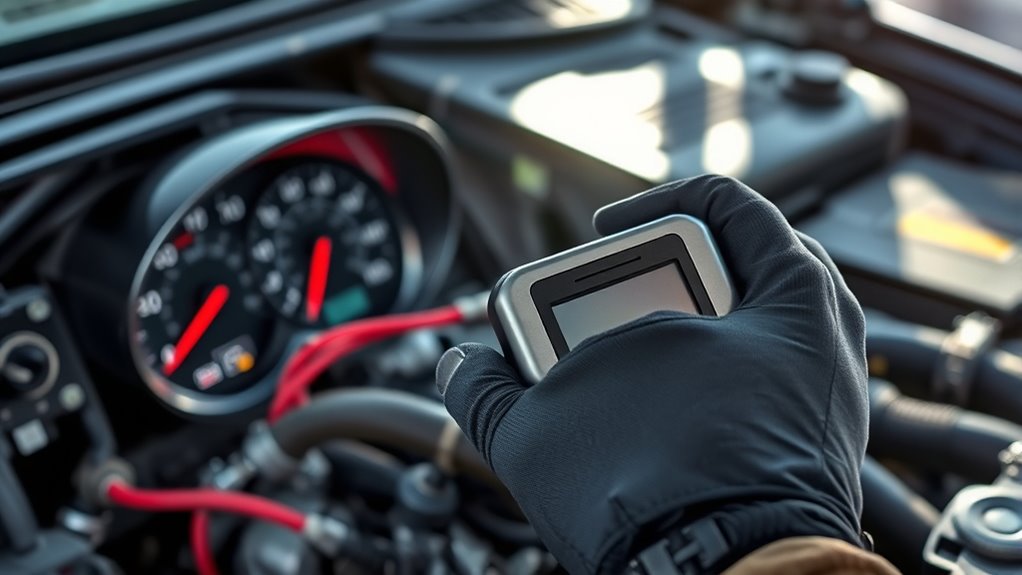
How to Reset the Check Engine Light Using Your Car’s OBD-II Port
Using your car’s OBD-II port is a reliable way to reset the check engine light without guesswork. First, find the port under your dashboard—usually near the steering column.
Locate the OBD-II port under your dashboard near the steering column to reset your engine light reliably.
Plug in an OBD-II scanner or code reader into this port. Turn on your ignition without starting the engine. The scanner will power up, and you can follow its prompts to read error codes.
These codes might relate to things like low engine oil or incorrect tire pressure sensors. Once you see the codes, select the option to clear or erase them.
This will reset the check engine light and allow your vehicle’s computer to recheck for issues. Keep in mind, fixing the underlying problem—such as topping off engine oil or fixing tire pressure—is essential.
Otherwise, the light might come back on. Using this method gives you a precise reset, giving peace of mind after maintenance or repairs.
Does Disconnecting the Battery Reset the Check Engine Light?
Wondering if disconnecting the battery will reset your check engine light? It might seem like a quick fix, but it often doesn’t fix the root cause.
When you disconnect the battery, your car’s computer resets, which can turn off the light temporarily. But if issues like incorrect tire pressure or fuel efficiency problems are causing the light, it might come back quickly.
Keep in mind that resetting doesn’t clear the fault codes permanently. The vehicle may need time to recalibrate sensor readings.
Problems like low tire pressure could trigger the light again. Sometimes, disconnecting the battery resets adaptive parameters but leaves the actual issues unresolved.
While it’s a simple step, disconnecting the battery isn’t a long-term fix. If the light keeps coming back, using an OBD-II scanner or fixing the specific problem is more effective.
When Should You Use a Scanner or Code Reader to Clear Codes?
While disconnecting the battery might turn off your check engine light temporarily, it doesn’t fix the real problem. That’s where a scanner or code reader comes in handy. Use one when you want to diagnose issues affecting fuel efficiency or check if your vehicle meets emission standards.
If you recently changed spark plugs and the light stays on, checking the codes can reveal if another part is causing trouble. Clearing codes with a scanner only resets the light after the system confirms the issue is fixed.
Avoid using a scanner if you haven’t fixed the root cause because the light will likely come back. If the check engine light is blinking, signaling a serious misfire, it’s best to get professional help instead of clearing the codes yourself.
Using a code reader helps you address real problems, keeping your car running well, saving fuel, and staying compliant with emissions regulations.
Common Mistakes That Prevent the Check Engine Light From Resetting
One mistake people often make is not paying attention to how their car behaves after repairs. If you skip this step, the check engine light might stay on even if the issue has been fixed. It’s also pretty common to forget to clear out the error codes once you’ve addressed the problem. If you don’t do that, the warning light could keep shining unnecessarily. Lastly, using the wrong reset tools can cause all sorts of problems, like giving false readings or not resetting the light at all. It’s always best to use tools that are compatible with your vehicle to get things right.
Ignoring Post-Change Drivability
- Smooth idling and acceleration
- Proper ignition timing adjustments
- Consistent fuel efficiency
- Elimination of rough or hesitant engine performance
If these problems remain, the system detects unresolved issues and keeps the warning active.
Fixing drivability issues helps the vehicle’s sensors recognize the problem is resolved, allowing the check engine light to reset naturally.
Ignoring these factors can lead to false readings, wasting time and making the reset process more complicated.
Not Clearing Error Codes
Failing to clear error codes after fixing underlying issues is a common mistake that can prevent the check engine light from resetting. You need to perform proper diagnostic procedures to erase stored error codes, or the warning indicators may stay on.
Often, people forget this step, thinking fixing the issue is enough. Here’s a quick overview:
| Step | Purpose |
|---|---|
| Use a code reader | To clear stored error codes after repairs |
| Verify reset | Make sure warning lights turn off smoothly |
Clearing error codes ensures the vehicle’s computer registers the fix. If you don’t do this, the check engine light might stay on, which can be confusing or cause unnecessary worry.
Always verify that codes are cleared to complete the reset process effectively.
Using Incompatible Reset Tools
Using the wrong reset tools is a common mistake that can prevent the check engine light from turning off. Not all diagnostic tools work with every vehicle, so picking the wrong device can make DIY troubleshooting tougher.
Make sure your tools match your car’s make and model to get the job done right. Using incompatible tools might cause reboot failures or even damage your vehicle’s onboard systems.
To avoid this, always check your device’s compatibility before you start. Be cautious about using generic or outdated scanners.
Many basic code readers aren’t able to reset the check engine light after spark plug replacements. Proper tools help you clear error codes safely and efficiently, saving you time and frustration.
How Long Does the Check Engine Light Stay On After Repairs?
After you finish up with the repairs, your check engine light might still stay on for a little while. It really depends on how long it takes for the system to reset the sensors. Sometimes, you might need to go on a few drives before the vehicle recognizes that the problem is fixed and turns the light off.
The time it takes can also vary, especially if the repair was pretty extensive or affected multiple parts of the car. So, don’t be surprised if it hangs around for a bit. Usually, though, once everything’s settled and the system’s done recalibrating, the light should go out on its own.
Sensor Reset Duration
Once you’ve completed the necessary repairs, the check engine light will usually stay on for a bit before it resets on its own. During this time, your vehicle’s sensors need to calibrate to give accurate readings.
The time it takes depends on your car’s make and model, but generally, it’s about 50 to 100 miles of driving. During these drive cycles, the sensors re calibrate, and eventually, the light will turn off.
If you want to speed up the process, you can try resetting the system yourself. This might involve disconnecting the battery or using an OBD-II scanner. Just remember, some cars require specific steps, so check your manual.
Be patient as your system adjusts. It might take a little time, but the warning light will go away once everything is calibrated properly.
Repair Impact on Light
When you finish making repairs, the check engine light may stay on for a while before turning off automatically. How long it stays on depends on how quickly your vehicle’s system recognizes the issues are fixed.
Usually, the light resets after engine oil checks or tire rotations when sensors confirm success. To speed things up, you might need to clear the codes with a scanner or just drive your car for about 50 to 100 miles.
Here’s a quick guide on how different repairs affect how long it takes for the light to turn off:
| Repair Type | Duration | Additional Step |
|---|---|---|
| Engine oil change | 10-50 miles | Drive normally until the light turns off |
| Tire rotation | 50-100 miles | Keep an eye out for the system reset |
| Spark plug replacement | Same as above | Use a scanner if the light stays on |
What to Do After Resetting the Check Engine Light
Resetting the check engine light is just the first step; you need to closely monitor your vehicle afterward to make sure the problem is really fixed. After the reset, keep an eye on the engine temperature to ensure it runs smoothly and doesn’t overheat.
Resetting the check engine light is just the first step—monitor your vehicle’s temperature and performance afterward.
Also, check your tire pressure because incorrect levels can affect your vehicle’s performance and emissions readings. To stay vigilant, regularly check the engine temperature and watch for any signs of overheating.
Monitor your tire pressure and inflate the tires to the manufacturer’s recommended levels. Take your car for a short drive and see how it responds.
Use an OBD-II scanner periodically to verify that the check engine light doesn’t come back on unexpectedly. Staying attentive after the reset helps confirm the fix is effective and prevents issues from reappearing.
Consistent care keeps your engine running at its best, and your vehicle in good shape overall.
When to Seek Professional Help for Persistent Check Engine Light
If your check engine light stays on even after you’ve tried resetting it, it might be time to call in the pros. Sometimes, that little light can be a false alarm, but other times, it’s warning you about something more serious.
If you notice your engine isn’t running quite right or see new diagnostic trouble codes pop up, don’t ignore them. These signs can point to bigger problems that need an expert’s eye to diagnose and fix.
Waiting too long could end up costing you a lot more in repairs later, so it’s usually best to get your vehicle checked out sooner rather than later.
Persistent Light Alert
A persistent check engine light that stays on despite your efforts to reset it indicates a problem that likely needs professional attention. If you’ve checked simple things like battery health or tire pressure and the light still remains on, it’s time to see a mechanic.
Ignoring it can lead to more serious engine damage or worse fuel efficiency. Constant alerts might come from complex issues with sensors or emissions systems. Consider getting help if:
- The light blinks or flashes continuously
- You notice strange smells or smoke from your vehicle
- Your fuel economy drops noticeably
- The check engine light stays on after multiple resets
These signs mean there’s a fault beyond routine maintenance. Addressing them quickly helps keep your vehicle safe, reliable, and prevents further damage.
Unusual Engine Performance
When your check engine light stays on even after you try to reset it and you notice strange engine behavior, that’s usually a sign something more serious is going on.
You might feel engine misfires, rough idling, or a loss of power. These symptoms can also cut down your fuel efficiency, making your car more expensive to run.
If your engine feels uneven or hesitates during acceleration, it could mean problems beyond simple spark plug issues. Ignoring these signs can lead to bigger damage or costly repairs.
Whenever these problems stick around, it’s a good idea to see a mechanic. They can pinpoint the issue and help get your vehicle running smoothly and efficiently again.
Diagnostic Trouble Codes
When you notice the light stays on after replacing spark plugs, it might indicate a deeper issue affecting your vehicle’s fuel efficiency or maintenance schedule.
You should seek professional help if:
- The codes reveal ongoing misfires or sensor failures
- Resetting the check engine light doesn’t resolve underlying problems
- Fuel efficiency drops noticeably
- The light persists even after addressing apparent issues
A mechanic can quickly read DTCs with specialized tools, ensuring accurate diagnosis. Ignoring persistent lights may lead to costly repairs or reduced fuel economy, so don’t delay seeking expert advice when needed.
Proper diagnosis keeps your vehicle running smoothly and safely.
Tips to Prevent Future Check Engine Light Issues After Changing Spark Plugs
Changing your spark plugs can improve engine performance, but it’s important to take steps to prevent the check engine light from coming on again. Always check your tire pressure regularly; uneven or low tire pressure can trigger sensors that might cause the light to activate unnecessarily.
Changing spark plugs boosts performance; regular tire pressure checks prevent unnecessary check engine light activation.
Keep your windshield wipers in good condition, as faulty wipers can impact your visibility and potentially lead to sensor issues. Furthermore, ensure your engine components are properly connected and free of debris to avoid misfires or sensor errors.
Use quality spark plugs and follow manufacturer guidelines during installation to prevent issues that could set off the check engine light later. Routine maintenance, like oil changes and air filter replacements, also helps keep sensors clean and functioning correctly.
Staying proactive with these simple steps reduces the chances of future issues and keeps your vehicle running smoothly without unexpected alerts.
Frequently Asked Questions
Can the Check Engine Light Reset Itself Over Time?
Yes, the check engine light can reset itself over time if the underlying issue is fixed and the vehicle’s sensors recalibrate.
As you improve fuel efficiency and fix sensor calibration, the car’s computer relearns normal operation.
This usually takes several drive cycles, during which the engine runs smoothly and no new problems occur.
For quick confirmation, you might want to clear the light manually using a scanner.
Will Resetting the Light Affect Ongoing Diagnostics?
Resetting the light won’t mess with your ongoing diagnostics—think of it as hitting the reset button on your ego. When you do, the diagnostic codes clear temporarily, giving you a clean slate to spot real issues.
Just remember, it’s a tool in your maintenance tips arsenal, not a magic wand. Keep an eye on the lights afterward to make sure no new problems pop up, or you’ll be back to square one.
Are There Risks in Resetting the Check Engine Light Manually?
Manually resetting the check engine light usually isn’t risky if you’re confident the underlying issue is fixed.
But there’s a risk to keep in mind: if the problem isn’t fully resolved, the light might come back on, showing that things aren’t completely sorted out.
Make sure you’ve addressed the root cause before doing a manual reset.
And always use a diagnostic tool properly to avoid misreading the results or missing other potential problems.
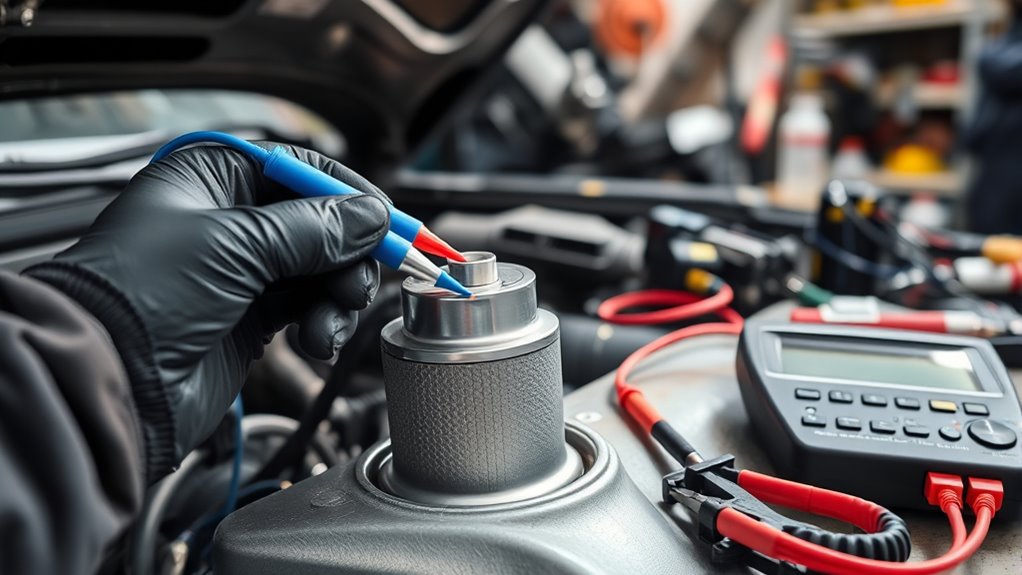
Which Tools Are Best for a DIY Check Engine Light Reset?
You should use diagnostic tools like an OBD-II scanner or code reader for a DIY check engine light reset. These devices are user-friendly, affordable, and designed specifically for reset procedures.
Connect the tool to your vehicle’s port, then follow the instructions to read the trouble codes. Once you’ve done that, select the reset option.
This method ensures a safe and efficient reset process. It helps avoid any risk of damage or incomplete resets.
How Can I Tell if My Reset Was Successful?
You can tell if your reset was successful by checking the ignition system and seeing if the check engine light stays off after restarting your vehicle.
Turn the ignition key to the “On” position without starting the engine, and then look at the dashboard for the warning light.
If it remains off, the ECU reboot worked, and your system has recognized the reset.
That means your vehicle is ready to go without the warning light showing.
Conclusion
Resetting your check engine light after spark plug changes is straightforward, but keep in mind, about 20% of cars might still show the light due to other issues.
Using your car’s OBD-II port or a scanner makes the process quick and easy. Simply connect the scanner, follow the prompts, and clear the codes.
If the check engine light stays on after reset, don’t hesitate to get professional help. Some problems need expert diagnosis or repair.
Regular maintenance, like changing spark plugs on schedule, can help reduce these alerts. It keeps your car running smoothly and saves you time and money.
Remember, a quick reset doesn’t fix underlying problems, so always check if the warning comes back.