5 Steps to Clean Your Oil Filter Efficiently
Are you finding it tough to keep your oil filter in top shape? You’re not alone—many vehicle owners struggle with maintaining efficient filters, which can impact your engine’s performance and longevity. But don’t worry, with a little know-how, cleaning your oil filter can be straightforward and save you money.
To clean your oil filter efficiently, start by preparing your vehicle on a flat surface with the engine cool and gather the necessary tools. Carefully remove the filter using a wrench, inspecting it for damage or debris.
Gently clean the filter with a soft brush and dry it thoroughly, avoiding harsh chemicals.
Reinstall the filter with a new gasket, ensuring it’s snug without over-tightening.
For more detailed tips on maintaining your oil filter’s performance, keep exploring these steps.
Key Takeaways
- Carefully remove the oil filter with a filter wrench, making sure the engine is cool and your workspace is clean.
- Check the filter for any damage, tears, or debris. If the gasket is damaged, replace it.
- Gently clean the filter with a soft brush and a lint-free cloth, avoiding harsh chemicals. Let it dry completely before reinstalling.
- Put the filter back in place with a new gasket, lightly lubricate the gasket with oil, and tighten it by hand until secure.
- After running the engine, check for leaks. Follow recommended maintenance intervals to keep your filter in top shape.
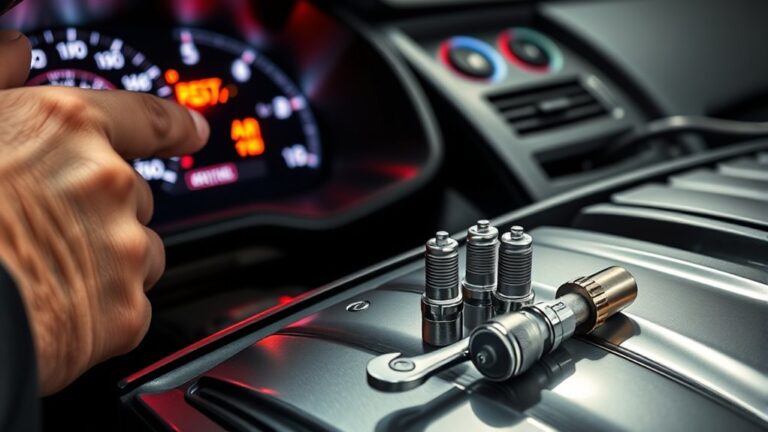
How to Prepare Your Vehicle and Gather the Right Tools
Have you gathered everything you need before starting the oil filter cleaning process? First, check your driving checklist to verify your vehicle is ready for maintenance.
Make sure your car is parked on a flat surface, the engine is cool, and you have safety gear like gloves and eye protection. Refer to your oil change schedule to see if it’s time for an oil change; this helps determine if cleaning your filter is necessary now.
Ensure your car is on a flat surface, engine cool, and safety gear ready before starting maintenance.
Gather essential tools: a new oil filter if you’re replacing it, a socket wrench, oil catch pan, rags, and possibly a filter wrench.
Having all tools within reach minimizes interruptions and keeps the process smooth. Preparing your workspace and vehicle beforehand helps you stay organized and safe.
Clear the area around your car to prevent accidents. Proper preparation ensures you can execute the cleaning efficiently and successfully.
Removing and Inspecting Your Oil Filter (Step-by-Step Guide)
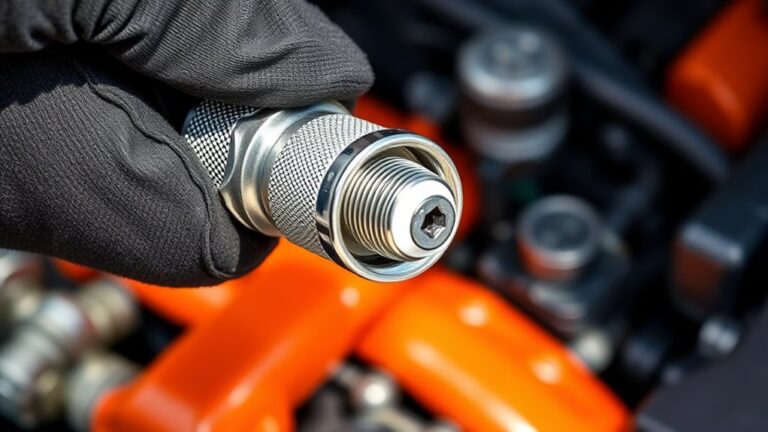
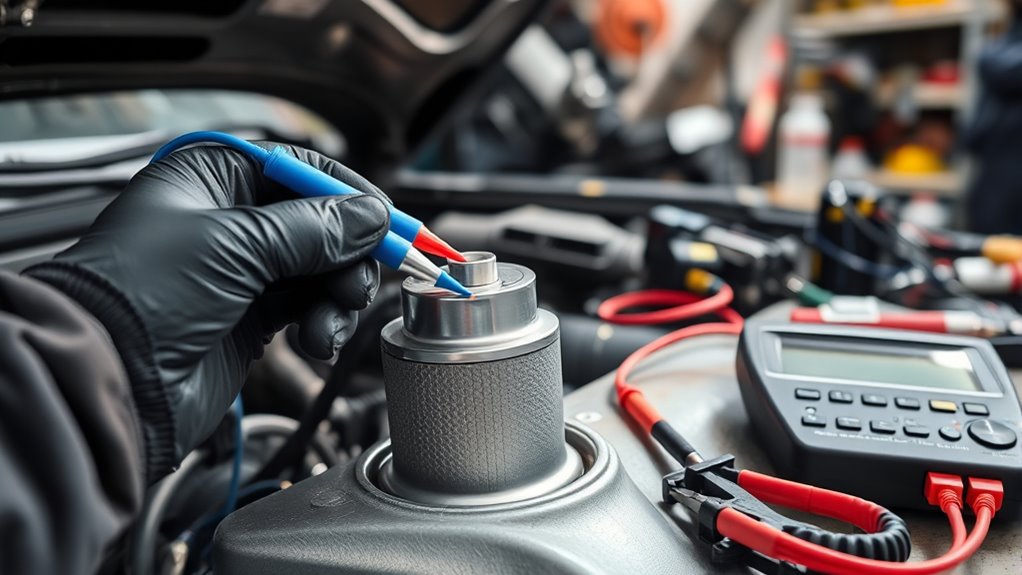
To remove and inspect your oil filter properly, start by making sure your engine is cool and the vehicle is parked on a flat surface. Locate the oil filter, which can vary depending on your vehicle, and gather the right tools.
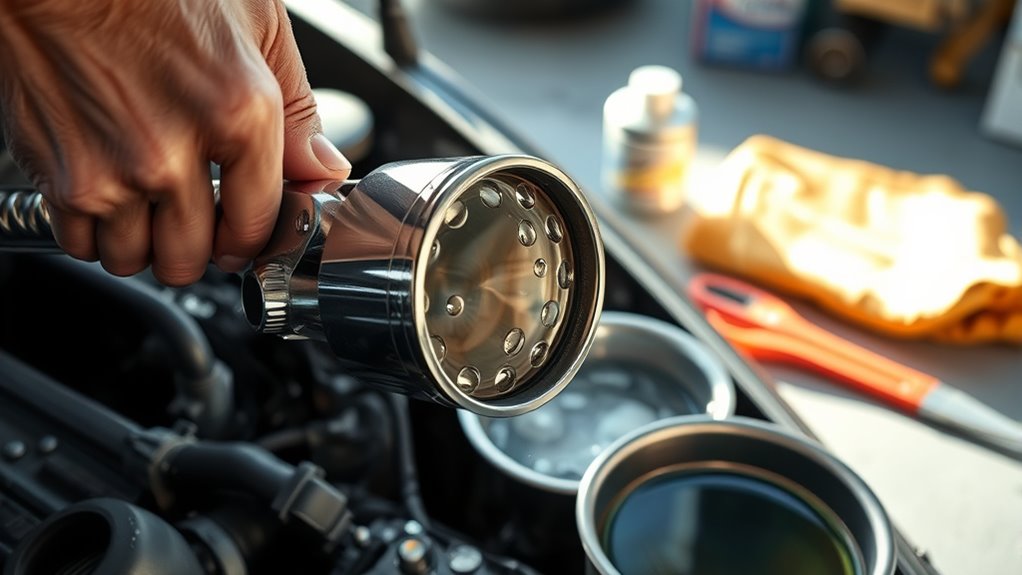
Check that your oil filter is compatible with your car to prevent any issues. Use an oil filter wrench to loosen it by turning counterclockwise. Be prepared for some oil to drip, so place a container underneath before you start.
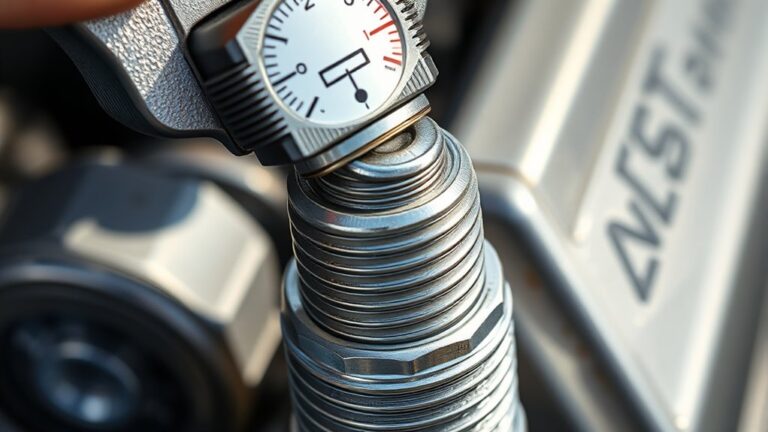
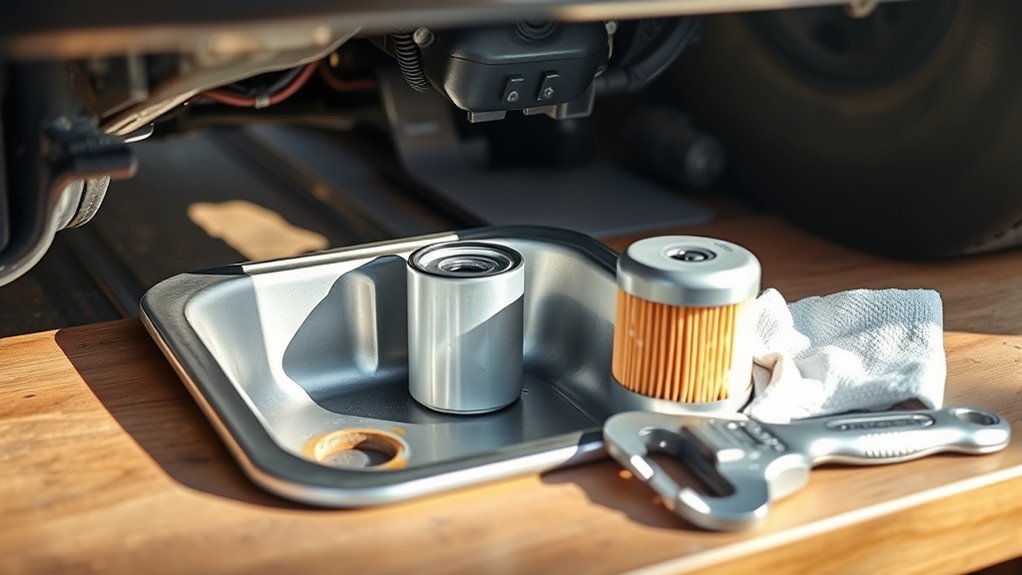
Once the filter is removed, carefully examine it for signs of damage or excessive dirt buildup. Look for any tears, dents, or debris that might indicate a problem.
Next, check the gasket’s integrity. Replace it if it’s damaged or wrapped to ensure a proper seal during reassembly. Proper inspection is essential for peak engine performance.
Finally, dispose of the oil filter properly following local disposal procedures. Proper disposal helps minimize environmental impact and keeps your workspace clean.
Here’s a quick overview:
| Step | Action | Important Notes |
|---|---|---|
| 1 | Loosen the oil filter | Use the correct tool, check compatibility |
| 2 | Remove the filter carefully | Watch for oil spillage |
| 3 | Inspect for damage or debris | Check for wear or metal shavings |
| 4 | Check gasket integrity | Replace if damaged or wrapped |
| 5 | Dispose of the filter properly | Follow disposal procedures |
Proper inspection and disposal ensure your engine runs smoothly while protecting the environment.
How to Clean Your Oil Filter Safely Without Damage
After removing your oil filter and inspecting it for damage, the next step is cleaning it properly without causing any harm. Handle the oil filter gently so you don’t tear or deform the material. Use a soft brush and a clean, lint-free cloth to remove any excess debris and sludge buildup.
Avoid harsh chemicals that could damage the filter’s material or weaken its structure. Focus on preserving the integrity of the filter media so it stays effective. Once cleaned, make sure the filter dries completely before you reinstall it.
Proper disposal is really important. Put the used filter in a sealed bag and follow your local recycling or disposal rules. Never throw it straight into the trash because it can contaminate the environment.
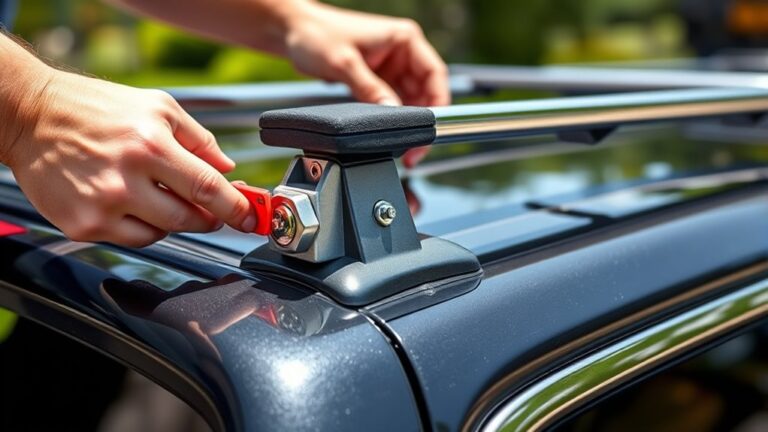
Reinstall Your Oil Filter Correctly and Double-Check
Making sure your oil filter is reinstalled correctly is key for your engine’s performance and safety. It’s more than just screwing it back in — you need to pay attention to sealing to prevent leaks.
Double-check that the filter sits snugly and isn’t cross-threaded. Proper installation helps avoid oil leaks and engine problems down the road.
Confirm the filter is threaded correctly. Be careful to avoid cross-threading, and if a new sealing ring or gasket came with it, use that and lightly lubricate it with fresh oil.
Tighten the filter by hand until it’s snug, then give it a final turn but don’t over-tighten. After starting your engine, double-check for leaks and watch the oil pressure to ensure everything’s good.
Follow these steps closely for a proper seal and reliable filter function. This helps maximize your filter’s effectiveness and prevents future issues.
Tips for Long-Term Oil Filter Maintenance and Performance
Maintaining your oil filter’s performance over the long term requires consistent care and attention. Start by understanding the different oil filter types suited for your vehicle—whether it’s a standard, synthetic, or cartridge filter—as each demands specific maintenance.
Establish a regular maintenance schedule based on your vehicle’s manufacturer recommendations, typically every 3,000 to 7,500 miles. Regularly check for signs of wear or clogging, especially if you notice decreased engine performance or unusual noises.
Use quality oil and filters to ensure peak filtration and longevity. Keep the area around the oil filter clean when performing maintenance to prevent dirt from contaminating the engine.
Moreover, consider changing your oil filter more frequently if you often drive in harsh conditions or stop-and-go traffic. Following these tips will help maximize your oil filter’s efficiency, extend its lifespan, and keep your engine running smoothly over time.
Frequently Asked Questions
Can I Clean Multiple Oil Filters at Once?
Yes, you can clean multiple oil filters at once, but it depends on the types of filters and your cleaning equipment. If they’re compatible with your cleaning method, you can process several filters simultaneously using bigger containers or multiple setups.
Just make sure each filter gets thoroughly cleaned and inspected for damage. This approach can save you time, but always follow safety guidelines and manufacturer recommendations for each filter type.
How Often Should I Clean My Oil Filter?
Think of your oil filter as the heartbeat of your engine; it keeps everything running smoothly.
You should clean or replace your oil filter every 3,000 to 5,000 miles, depending on your driving habits and oil type.
With synthetic oil, you might be able to stretch this interval a bit. Regular oil filter maintenance helps keep particles out, which prolongs engine life.
It also optimizes oil filter replacement, ensuring your vehicle runs efficiently and reliably.
What Cleaning Solutions Are Safest for Oil Filters?
For cleaning your oil filter safely, stick to mild cleaning agents like mineral spirits or designated filter cleaners, which offer good solvent safety. Avoid harsh chemicals like gasoline or strong acids, as they can damage the filter.
Always check your filter manufacturer’s recommendations and use a cleaning solution specifically designed for oil filters.
This approach guarantees effective cleaning without compromising the filter’s integrity or your safety.
Can I Reuse a Damaged Oil Filter After Cleaning?
You shouldn’t reuse a damaged oil filter after cleaning. Damaged filters lose their effectiveness because of compromised recycling potential and increased contamination risks.
Even if you clean it thoroughly, tiny cracks or deformities can allow debris or oil leaks, harming your engine. It’s safer to replace the damaged filter with a new one to guarantee proper filtration and avoid costly engine damage down the line.
How Do Temperature Variations Affect Oil Filter Cleaning?
Temperature variations can significantly affect your oil filter cleaning process. If the temperature isn’t stable, it can cause the filter material to expand or contract, which can reduce filtration efficiency.
Fluctuations may also make cleaning more difficult. Oil residues become harder to remove evenly when temperatures are inconsistent.
To keep filtration efficiency high, make sure to maintain a stable temperature during cleaning. Consistent temperatures help dissolve contaminants better and protect the integrity of your oil filter for reuse.
Conclusion
Regularly cleaning your oil filter can extend its lifespan and improve your engine’s performance. Did you know that properly maintained oil filters can boost fuel efficiency by up to 2%?
By following these simple steps, you’ll ensure your vehicle runs smoothly and stays reliable longer. Just remember, a little upkeep goes a long way—keeping your engine clean and happy will save you money and stress in the long run.
Taking care of your oil filter with regular cleaning can really make a difference. It’s a small effort that results in a more efficient, longer-lasting engine.
Happy driving!