How Do You Determine the Right Oil Filter Wrench Size
Replacing an oil filter can be tricky, especially if you don’t have the right tools. Many people struggle with finding the perfect size oil filter wrench, which can lead to slipping or over-tightening.
To determine the right oil filter wrench size, start by measuring your filter’s diameter and height with a tape measure or calipers. Match these measurements to a wrench that fits snugly without over-tightening or slipping.
Check your vehicle’s manual or markings on the filter for size clues, and verify the wrench’s shape suits the filter type. If you’re unsure about the fit, keep exploring to find detailed tips that will help you choose the perfect tool.
Key Takeaways
- Measure the oil filter’s diameter across the widest part with a tape, calipers, or ruler.
- Check the filter’s height and compare it to standard wrench sizes to find a proper fit.
- Match the wrench size to the filter’s outer diameter, making sure it’s snug but not too tight.
- Look at the vehicle’s manual or check markings on the filter to confirm the right size and thread type.
- Make sure the wrench fits securely around the filter to avoid slipping or damage when you’re removing it.
How to Identify Your Oil Filter Size for Easy Wrench Selection
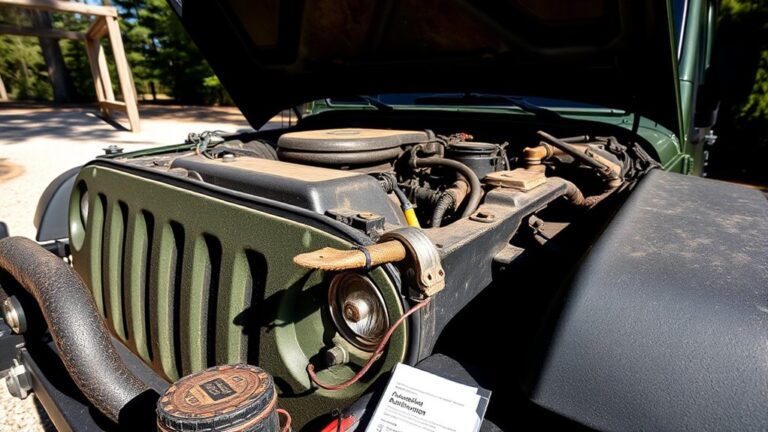
Before selecting the right oil filter wrench size, you need to determine the size of your oil filter. Start by locating the filter, usually found on the side of your engine. Check the filter’s diameter and height; these measurements are essential for choosing the correct wrench.
The oil filter material can sometimes give clues about its size, as different materials are used for various filter models. Be aware that engine temperature influences the filter’s fit; a hotter engine might expand the filter slightly, so measuring when the engine is cool guarantees accuracy.
Carefully remove the filter without damaging it to get precise measurements. Using a measuring tape or calipers, identify the diameter across the filter’s top. Once you have these measurements, you can easily match the size with a wrench that fits snugly and provides enough grip, making removal and installation smoother and safer.
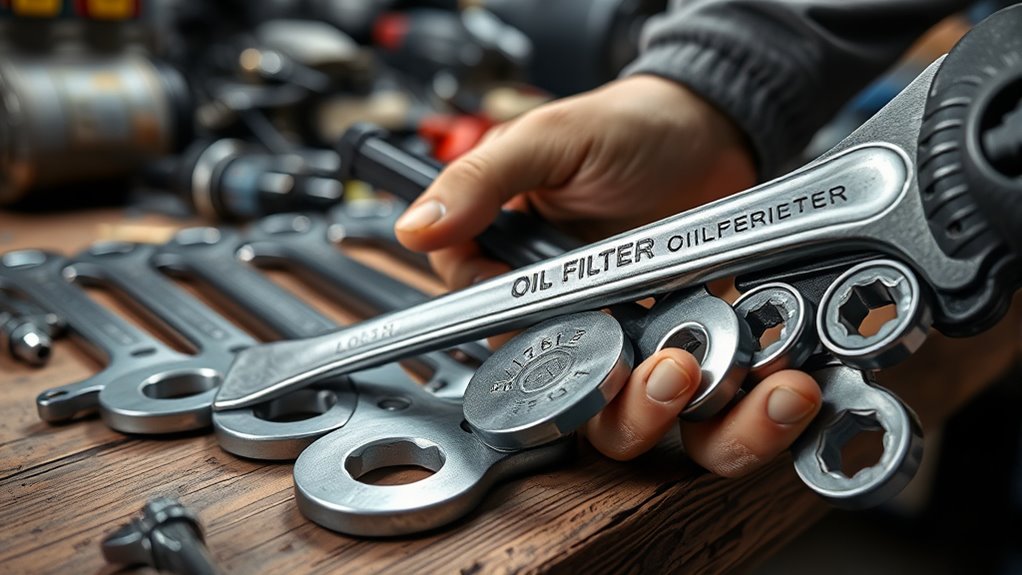
Understanding Different Types of Oil Filter Wrenches
There are several types of oil filter wrenches, each designed to handle different filter shapes and sizes more effectively.
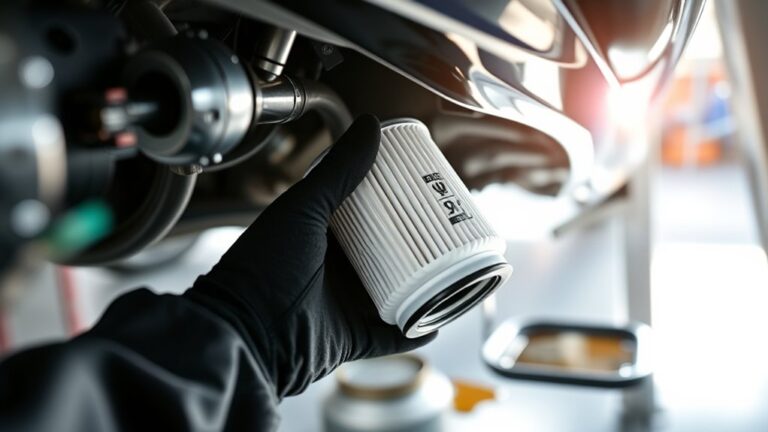
The most common types include strap wrenches, which use a flexible band to grip various filter materials, offering versatile, damage-free removal.
Socket or cup wrenches fit around the filter and provide strong torque, making them great for filters with sturdy material construction.
For tight spaces, pliers-style or claw wrenches are convenient but may require careful handling to prevent damage.
When choosing your wrench, consider the filter material since some types are more suitable for delicate or hardened surfaces.
Wrench durability is also important; high-quality materials like steel or reinforced alloys ensure a longer lifespan and reliable performance.
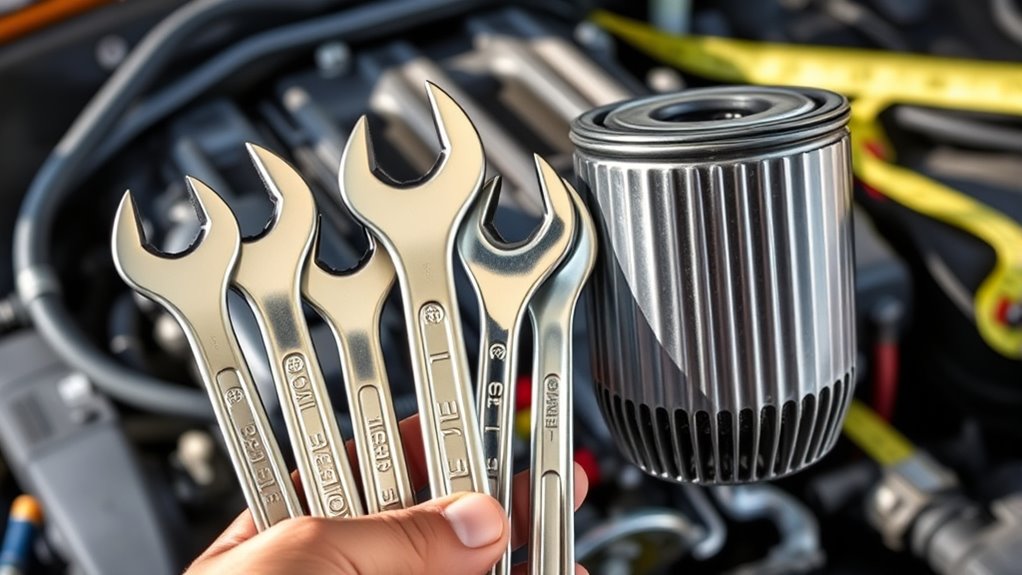
How to Measure Your Oil Filter Accurately
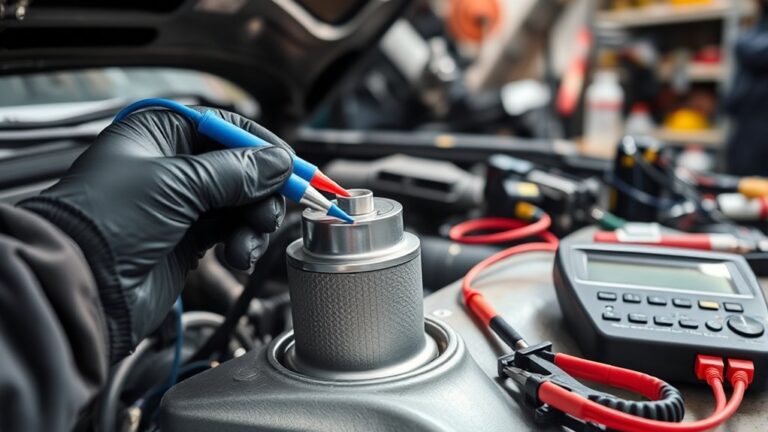
To measure your oil filter accurately, start by identifying the key dimensions you need: the diameter and height. These measurements help determine the right wrench size and ensure a proper fit.
Start by measuring the oil filter’s diameter and height for accurate wrench selection and proper fit.
When measuring, use a ruler or caliper for precision. Keep in mind that oil filter classifications often specify size ranges, so confirming exact dimensions helps avoid mismatches.
Also, consider the lubricant viscosity, as thicker oils may require more durable filters and different wrench approaches. To get the diameter, measure across the widest part of the filter’s opening or base.
For height, measure from the base to the top. Note that some filters have slightly different shapes, so double-check your measurements before selecting a wrench.
Accurate measurement ensures you get the right tool that grips firmly without slipping or damaging the filter. Proper size matching makes removal and installation easier, saving time and preventing damage.
Common Oil Filter Sizes and Thread Patterns Explained
Understanding common oil filter sizes and thread patterns is important for choosing the right wrench and ensuring a proper fit. Oil filters come in different sizes, each made for specific vehicle models, so knowing your filter’s dimensions is a must.
Thread patterns also vary, which affects how the filter attaches to the engine. Think of some filter types: small, lightweight filters for compact cars, larger heavy-duty filters for trucks.
European models often have fine threading, while American vehicles typically use coarser threads. These details influence oil compatibility and filter materials.
A mismatch in size or thread pattern can lead to leaks or damage, which can harm oil flow. Pay close attention to your vehicle’s specs and the filter’s markings. Matching size and thread pattern properly ensures a secure fit, keeps the oil pure, and works well with your engine’s oil needs.
Choosing the Right Wrench Based on Your Filter and Space
Choosing the right wrench depends on your oil filter’s size and the space around it. Measure the diameter carefully, then think about how much room you have to maneuver the tool.
For tight spots, thin or compact wrenches work best. Some wrenches come with color coding, which helps you quickly find the right size and reduces guesswork.
Material durability matters too. Steel or reinforced composites are tough and resistant to wear, making your wrench last longer.
| Size Range | Space Requirements | Material & Color Coding |
|---|---|---|
| Small (2-3 inches) | Tight spaces, limited clearance | Durable steel, color-coded for quick size ID |
| Medium (3-5 inches) | Moderate space, accessible areas | Reinforced composite, color markers |
| Large (over 5 inches) | Spacious areas, less restricted | Heavy-duty steel, no color needed |
| Compact Wrenches | Very tight, awkward spots | Lightweight, high durability materials |
Tools and Resources to Confirm Your Wrench Suitability
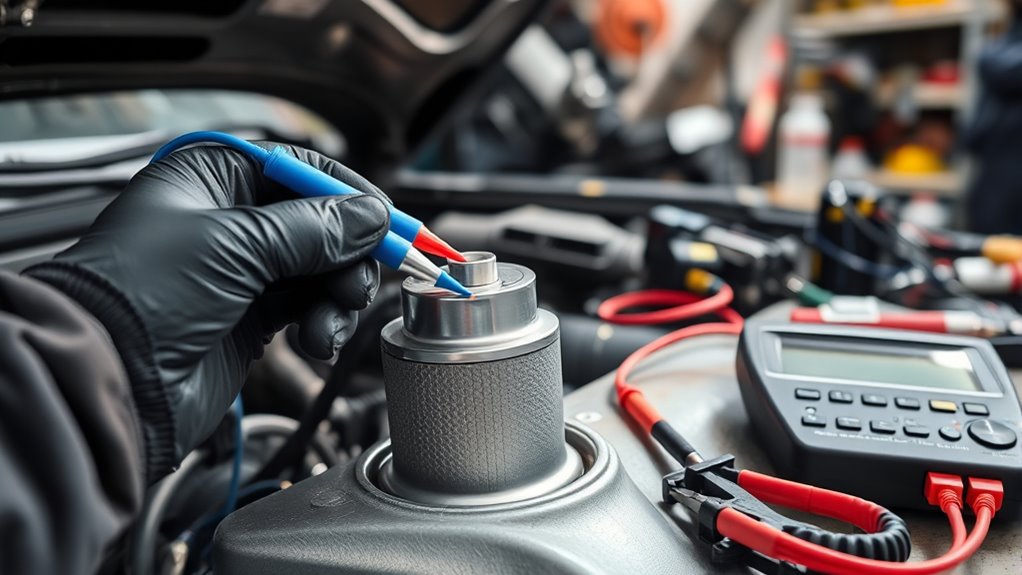
Before choosing a wrench size, it’s helpful to use tools and resources to check if your selected tool will fit your oil filter properly. This helps ensure smooth maintenance and prevents damage to your filter or engine. You can confirm the fit by:
- Using calipers or a ruler to measure the filter’s diameter accurately before picking a wrench
- Creating a paper or cardboard template that matches your filter’s size to test different wrench shapes
- Checking the manufacturer’s specifications or online guides for recommended wrench sizes
- Inspecting your current tools or adjustable wrenches to see if they can be safely adjusted for a proper grip
Choosing the right tools not only makes oil filter replacement easier but also keeps you safe by reducing slips or injuries. Using accurate measurements and reliable resources guarantees a good fit, making your oil filter maintenance quicker and safer.
What to Do When Your Wrench Doesn’t Fit Properly
If your wrench doesn’t fit your oil filter properly, don’t force it or try to make it work by over-tightening. Poor wrench compatibility can damage your filter or strip the threads, leading to leaks or costly repairs.
Using an ill-fitting wrench can damage the filter and cause costly leaks. Always choose the right size.
Instead, check if you have the correct size and type of wrench. Sometimes, a different style or an adjustable wrench offers a better fit.
If your current tool isn’t compatible, consider investing in the right one for future use. Proper tool maintenance helps keep your tools in good condition and prevents fit issues down the road.
Regularly inspect your wrench for wear or damage and clean it after use to keep it in top shape.
If you’re unsure about wrench compatibility, consult your vehicle’s manual or ask a professional.
Using properly fitting tools is key for safe, efficient oil changes and helps avoid unnecessary damage.
Handling Non-Standard or Unusual Oil Filters
When you’re working with non-standard or unusual oil filters, it’s important to recognize that they often have unique shapes and designs. So, you might need to get a little creative with your tools. Sometimes, your regular wrenches just won’t do the trick, and you might have to adapt or even come up with custom solutions to get a secure fit.
Being flexible and having a variety of tools on hand can really make a difference here. It’s a good idea to be prepared for these tricky filters—they can be a bit challenging, but with the right approach and some extra tools, you’ll be able to handle them efficiently and get the job done smoothly.
Identifying Unique Filter Shapes
How can you effectively identify unique or unusual oil filter shapes? First, take a close look at the filter’s exterior—notice any irregular sizes, shapes, or attachments that don’t match standard models.
You might see a tall, cylindrical form with multiple ridges, or even a square or rectangular shape instead of the usual round one.
An odd flange or threaded top that’s not typical can also be a clue. Keep an eye out for unusual surface textures or markings that suggest a specialized design.
These differences often come from advanced oil filter chemistry or filters made for synthetic oils, which sometimes need custom fittings. To avoid problems, carefully measure the filter’s diameter and height, and check the manufacturer’s specs.
Recognizing these unique shapes can help you choose the right tool and prevent mishandling non-standard filters during maintenance.
Adapting Standard Wrenches
Consider wrench ergonomics—selecting a tool with a comfortable grip helps you exert better torque and control. If the filter is unusually shaped or size, use adapters or make simple modifications, like wrapping the wrench handle for a better fit.
Sometimes, combining two wrenches or using adjustable tools can improve grip and utilization. Always confirm the wrench remains stable to avoid slipping, which could damage the filter or cause injury.
Thoughtful adjustments like these help you effectively handle non-standard filters without sacrificing safety or efficiency.
Using Custom Solutions
Sometimes standard wrenches just don’t cut it for unusual or non-standard oil filters. When that happens, you’ll need to look into custom solutions through DIY tweaks and tool innovation.
You might craft a makeshift wrench using adjustable pliers or bolt cutters, or improvise with a sturdy strap or hose clamp to grip the filter tightly.
Imagine creating a snug fit with a DIY strap wrench from durable materials, or modifying a common wrench with added padding or grips.
Using rubber or silicone can also help improve grip on irregular surfaces.
Or you could repurpose tools like pliers or locking clamps for a customized fit.
These approaches let you handle tricky filters without needing special tools. Your ingenuity makes sure you get a secure and efficient grip on non-standard filters every time.
Tips for Safe and Effective Oil Filter Replacement
Ensuring safety and effectiveness during an oil filter replacement requires careful attention to a few key steps. First, always wear gloves and eye protection to prevent contact with hot oil or debris. Use vintage tools where appropriate; they often provide better grip and control, especially with older filters.
If you’re environmentally conscious, opt for eco-friendly options like biodegradable gloves or reusable rags instead of disposable supplies. Make sure your vehicle is cool before starting to avoid burns. Secure the vehicle on a flat surface and use jack stands for stability.
When removing the filter, turn slowly to prevent oil spills. Keep a container ready for used oil and dispose of it responsibly. After installation, double-check that the filter is tight but not over-tightened. Properly cleaning your work area and tools helps prevent contamination, ensuring a safe and efficient oil filter change every time.
Troubleshooting Common Problems During Oil Filter Removal
Taking out an oil filter isn’t always a walk in the park. Sometimes, it can be pretty stubborn, like a filter that just refuses to turn or gets stuck. And other times, you might end up stripping the threads, which is definitely frustrating. But don’t worry—there are some simple tricks to handle these common problems and get that filter off without drama.
When you’re faced with a stuck oil filter, a good first step is to use a rubber strap wrench or a filter removal tool. These can give you extra grip and leverage. Sometimes, giving the filter a little warm-up with a hairdryer can help loosen the seal too—just be careful not to overheat anything. If it’s still stubborn, try gently tapping around the edges with a rubber mallet or using penetrating oil around the base, letting it sit for a few minutes before trying again.
Now, if you run into threads that are stripped or cross-threaded, don’t panic. Sometimes, carefully using a thread chaser or a tap designed for that purpose can help clean up the threads. In more tricky cases, you might need to re-tap the hole or replace the component if it’s too damaged. Remember, patience is key—rushing can make things worse.
All in all, dealing with these issues might take a bit of time, but with the right tools and a calm approach, you can usually resolve most problems safely and efficiently.
Common Removal Challenges
When you’re trying to remove a tough oil filter, issues like clogging, rust, or over-tightening can turn the job into a real challenge. These problems make the process frustrating and increase the risk of damage if you’re not using the right tools or safety measures.
You might find yourself dealing with a seized or hardened filter that just won’t budge, or rusted threads that can strip or cause damage. Over-tightened filters might feel impossible to loosen, and dirt and grime can make gripping and controlling the filter more difficult.
To handle these challenges, make sure to use the proper tools designed for the job. This helps ensure your removal technique minimizes damage and keeps things safe. By recognizing these common issues, you can prevent accidents and remove the filter safely and efficiently, saving time and effort.
Effective Problem-Solving Techniques
Dealing with stubborn oil filters can be frustrating, but using good troubleshooting techniques can make it easier.
First, make sure your maintenance routines include safety precautions like wearing gloves and eye protection.
If the filter is stuck, try loosening it gradually with the right-sized wrench. Be careful not to use too much force, which could damage the housing.
Apply penetrating oil around the seal to loosen rust or grime, but let it sit for a few minutes first.
If the filter still won’t budge, consider using a strap wrench for a better grip. Always double-check your tools to avoid slipping or injury.
Taking small, careful steps helps prevent damage and makes the removal process safer and less stressful.
Frequently Asked Questions
Can Adjustable Wrenches Replace Specific Oil Filter Wrenches?
Yes, an adjustable wrench can replace a specialized oil filter wrench as a universal tool, but it’s not the best option. Adjustable wrenches often don’t grip the filter evenly, risking slips or damage.
A specialized wrench fits snugly and makes removing or installing filters easier. While adjustable wrenches offer versatility, for a secure, damage-free fit, it’s better to use the right-sized, specialized wrench designed for oil filters.
How Often Should I Replace My Oil Filter Wrench?
You should replace your oil filter wrench whenever it shows signs of wear or damage, since it’s important for keeping the filter properly fitted.
A good rule of thumb is to replace it every 2-3 years or if the material, like plastic or metal, starts to chip or deform.
Worn-out tools will slip and can damage your filters, so don’t wait—replace it before it’s too late.
Are There Eco-Friendly or Reusable Oil Filter Wrenches?
Yes, there are eco-friendly and reusable oil filter wrenches. Some are made from biodegradable materials like recycled plastics or sustainable metals, which helps reduce environmental impact.
Reusable designs often feature durable construction, so you can use them multiple times without creating waste. You can choose from adjustable or specialized wrenches that are built to last.
Making your oil changes more sustainable and eco-conscious is easier with these options, and they can also save you money in the long run.
What Safety Gear Is Recommended When Changing Oil Filters?
When changing oil filters, you should wear safety gear to protect yourself from spills and hot surfaces. Safety precautions include gloves to prevent skin irritation and burns, safety glasses for eye protection, and old clothing or a coverall to avoid stains.
Make sure the engine is cool before starting to prevent burns. Using protective gear not only keeps you safe but also makes the process cleaner and more comfortable.
How Does Ambient Temperature Affect Oil Filter Removal?
Ambient temperature impacts oil filter removal because temperature sensitivity affects both the process and your tools.
In cold weather, filters become harder to turn, so you’ll need a durable wrench with a strong grip and heat-resistant features.
On the other hand, hot conditions can cause oil and components to expand, making removal easier but risking tool damage.
Choose a high-quality, durable wrench designed for varying temperatures to ensure safety and efficiency during your oil change.
Conclusion
Now that you know how to pick the perfect wrench, you’re ready to tackle oil changes confidently. Think of your wrench as a trusty key, helping you unfasten filters smoothly and keep your engine running like a well-oiled machine.
With the right size and a clear understanding, you’ll handle each oil change easily—no matter how tricky the twist. Your oil filter wrench is your best tool for a quick, hassle-free maintenance session.
Keep that wrench handy, and let your maintenance journey become a dance to a well-oiled rhythm. Choosing the right oil filter wrench size makes all the difference, helping you get the job done right every time.