How to Install Gas Shocks in 10 Steps
If you’ve ever noticed your vehicle handling rougher than usual or your ride feeling a bit bumpy, you’re not alone. Many car owners struggle with maintaining smooth suspension, especially when it’s time to replace those worn-out shocks.
Installing gas shocks might seem daunting, but with a little know-how, you can do it yourself and save some money.
To install gas shocks, start by gathering your tools and safely lifting the vehicle with jack stands, making sure it’s secure. Then, inspect your suspension components for damage before removing the old shocks carefully, keeping track of hardware.
Match and position the new shocks properly, tighten bolts to manufacturer specs using a torque wrench, and lower the vehicle.
Finally, test drive to verify everything works smoothly. If you want detailed steps to get it right, keep exploring these instructions.
Key Takeaways
- Gather all the tools, safety gear, and replacement gas shocks you need, making sure they’re compatible with your vehicle model. It’s good to be prepared before starting.
- Safely lift your vehicle on flat ground using jack stands and wheel chocks. Make sure it’s secure before you begin working underneath.
- Carefully loosen and disconnect the old shocks’ mounting bolts. Take note of how the hardware is positioned so you can put everything back correctly.
- Measure and compare the new shocks to the factory specs to ensure proper fit. Install them and tighten the mounting bolts to the recommended torque.
- Lower your vehicle carefully, then test the shocks by pushing or bouncing on the suspension. Take it for a short drive to make sure everything feels right.
Understanding Gas Shocks and Their Benefits
Gas shocks are a popular choice for vehicle suspensions because they provide smoother, more controlled rides. Their effectiveness depends on suspension design, which accommodates the specific characteristics of gas shock types.
Gas shocks improve ride comfort and control, with performance depending on suspension design and shock type.
These shocks use pressurized gas, usually nitrogen, to dampen suspension movements, helping your ride feel more stable and comfortable. Gas shock types vary, including monotube and twin-tube designs.
Monotube shocks are known for better heat dissipation and responsiveness, making them ideal for heavy-duty use or sport driving. Twin-tube shocks are more affordable and offer a softer ride, which is great for everyday commuting.
The benefits of gas shocks go beyond just comfort. They improve handling, reduce body roll, and enhance overall safety.
Understanding how different shock types work within your suspension setup helps you choose the right one for your vehicle. This ensures you get peak performance and longer-lasting shocks.
Gather Your Tools and Equipment for Gas Shock Installation
Before you start installing your gas shocks, it’s essential to gather all the necessary tools and equipment to make the process go smoothly.
You’ll need basic hand tools like a socket set, wrenches, and screwdrivers to remove and install shock mounts securely. Have a jack and jack stands ready to lift and support your vehicle safely.
Check the shock mounting points for any rust or damage before you begin. If your shocks come in different colors, pick the one that matches your vehicle’s look or your personal style.
A rubber mallet can help with shock removal if needed, and a lubricant spray can make shock installation and mount adjustments easier.
Make sure you have the correct replacement shocks for your vehicle’s make and model. Preparing your tools in advance keeps things efficient and helps prevent delays during installation.
Safely Lift and Support Your Vehicle
Before you begin, make sure you’ve got the right lifting equipment for your vehicle. It’s really important to choose the proper tools to do the job safely.
Once you’ve got everything set up, always secure the vehicle properly. This is especially crucial before removing the shocks — you want to prevent any accidents or surprises.
Taking these simple steps helps keep you safe and makes the whole repair process much smoother.
Choose Proper Lifting Equipment
Have you chosen the right lifting equipment to safely support your vehicle? Picking the proper tools ensures stability and helps prevent accidents.
Make sure your jack and jack stands are rated for your vehicle’s weight. This way, you’ll have reliable support when working underneath.
Check the compression adjustment on the stands. Proper adjustment prevents slipping or collapse, keeping you safe.
Using the correct tools also helps preserve the lifespan of your shock absorbers. It reduces unnecessary stress during installation or removal.
Avoid makeshift supports that could fail or damage your vehicle. Always verify that your lifting equipment is in good condition, free of rust or damage.
Ensuring your equipment is well-maintained and appropriate gives you confidence when working on gas shocks. It makes the whole process smoother and safer.
Secure Vehicle Before Work
Once you’ve confirmed your lifting equipment is suitable and in good condition, it’s time to securely lift and support your vehicle. Make sure the vehicle is on a flat surface and engage the parking brake. Use wheel chocks on the wheels remaining on the ground to prevent movement.
For interior modifications or engine tuning, proper support is essential to avoid accidents. Position the jack stands correctly under the manufacturer’s recommended lift points, typically near the frame or designated lift points. Double-check the stability before working underneath.
Never rely solely on the jack. When working on suspension components like gas shocks, secure the vehicle thoroughly to prevent falling. This careful preparation ensures safe access whether you’re installing shocks or doing other maintenance tasks.
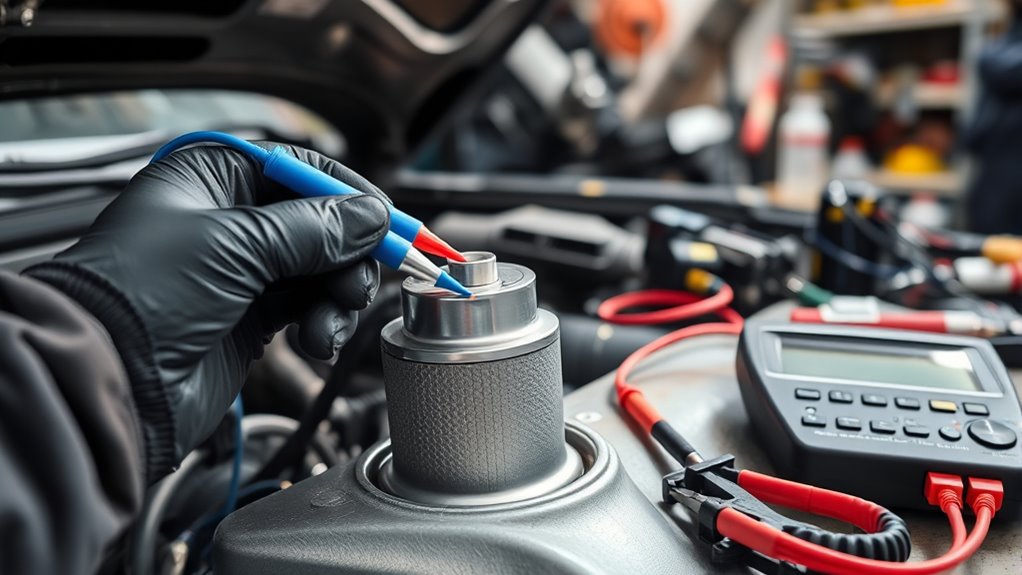
Inspect Suspension Components for Wear and Compatibility
Inspecting suspension components for wear and compatibility is a crucial step before installing gas shocks. You want to make sure your suspension system is in good shape to support the new shocks and give you a smooth ride.
Start by examining the coil springs, bushings, and mounts for cracks, corrosion, or damage. Worn components can affect shock performance and your suspension upgrade.
Inspect coil springs, bushings, and mounts for cracks or corrosion to ensure optimal shock performance and a successful upgrade.
Check for leaks or fluid buildup around the current shocks to spot any existing problems. Also, confirm that your shocks match your vehicle’s specs and any modifications you’ve made.
It’s important to replace any worn or damaged parts before moving forward, as faulty components can negate the benefits of new gas shocks. Proper inspection saves time, prevents costly repairs down the road, and ensures your suspension is ready for an upgrade.
This step guarantees your installation will be safe and effective, leading to a smoother, more controlled ride.
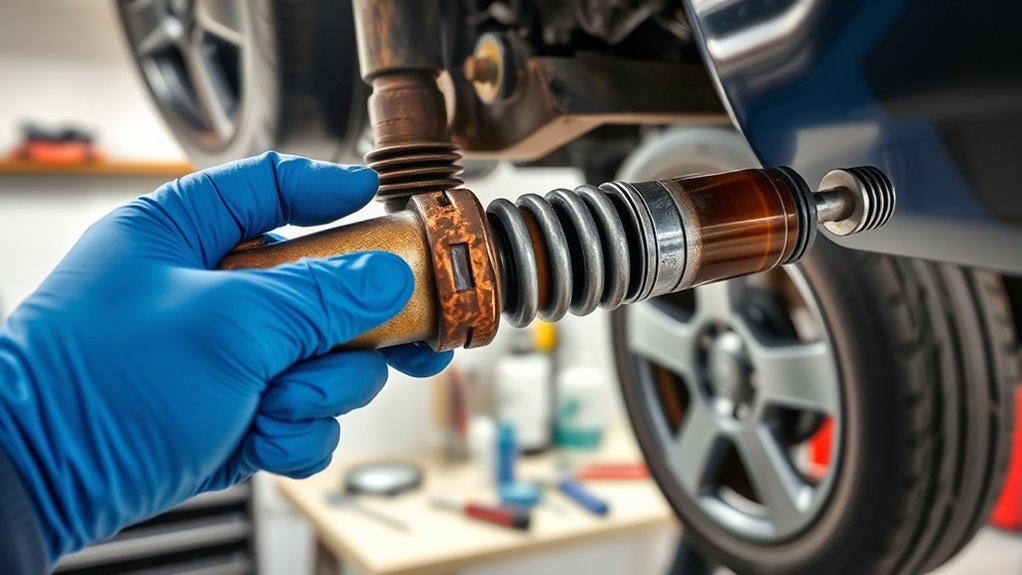
Remove Old Gas Shocks Carefully
Wondering how to remove your old gas shocks without causing damage? First, understand that gas shock lifespan varies, but old shocks often become less effective and need replacing.
To avoid damaging other suspension components, carefully support the vehicle with a jack and secure it on jack stands. Use the appropriate tools to loosen the shock mounting bolts, starting with the lower bolt, then the upper.
Be prepared for some residual pressure in the shocks. Wear safety glasses and gloves. Shock replacement tips include working slowly and avoiding excessive force that could ruin the mounting brackets or damage surrounding parts.
When removing the shocks, keep track of all bolts and hardware for easy reinstallation. If the shocks are stuck or corroded, applying penetrating oil can help loosen them.
Taking your time during this process helps prevent damage, ensuring a smoother shift when installing your new gas shocks.
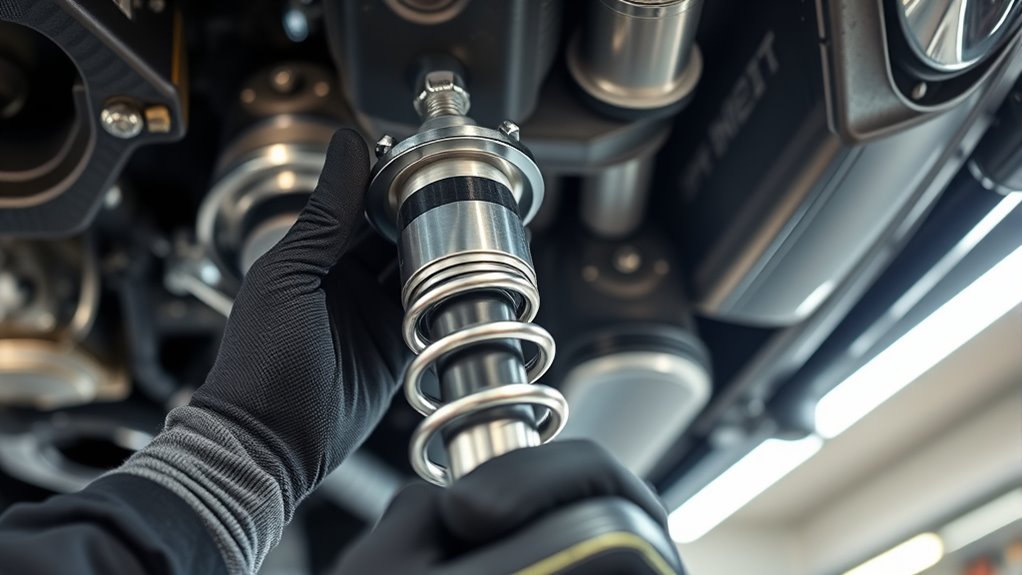
Match and Measure New Gas Shocks to Your Vehicle
Before you install your new gas shocks, it’s important to match them correctly to your vehicle’s specifications. Check the manufacturer’s guidelines or your vehicle’s manual for details.
Measure the distance between the shock mounts on your vehicle and compare it to the new shocks. Getting the right length helps prevent suspension issues and keeps your ride smooth.
Also, verify compatibility with your tire pressure and suspension system, especially if you use synthetic oils, which can affect ride responsiveness. Proper matching avoids uneven wear and improves handling.
| Key Factor | What to Check |
|---|---|
| Shock Length | Measure mount points and ensure a match |
| Mounting Type | Confirm compatible mounting style |
| Vehicle Make/Model | Verify shock specs for your vehicle |
| Tire Pressure | Maintain correct tire pressure during testing |
| Oil Compatibility | Use synthetic oils compatible with shocks |
Step-by-Step Guide to Installing Gas Shocks
Before you dive in, make sure you’ve got all the safety precautions in mind and have gathered up everything you’ll need. This quick guide will walk you through the main steps to install gas shocks the right way. Just remember, keeping safety and preparation in check will help make the whole process smooth and hassle-free.
Preparation and Safety Measures
Installing gas shocks requires careful preparation and safety protocols to prevent accidents and ensure proper function. Before starting, make sure your vehicle is securely supported on jack stands to avoid any risk of rolling or tipping.
Wear safety goggles and gloves to protect yourself from debris or leaks. Check the vehicle suspension for damage before removing the shocks. Remember, gas shocks improve ride quality and suspension control.
Gather all necessary tools and replacement shocks beforehand. Securely lift and stabilize the vehicle. Follow the manufacturer’s instructions exactly.
Keep your work area clean and free of hazards to ensure a safe and efficient installation.
Installation Procedure Overview
To properly install gas shocks, you’ll need to follow a clear, step-by-step process to make sure everything is done correctly. First, safely lift your vehicle and remove the wheels for better access.
Before removing the old shocks, check the mounting points and refer to your vehicle’s manual for specific instructions.
Disconnect the existing shocks, then position the new gas shocks in place, making sure they line up with the mounting holes.
Tighten all fasteners securely, but be careful not to over-tighten, which could damage parts.
After installation, review the shock maintenance guidelines, including lubrication if needed.
Finally, have your vehicle’s alignment checked to prevent uneven tire wear and improve handling.
Always take your vehicle for a test drive to ensure the shocks work well and provide a smooth ride.
Tighten Bolts and Fasteners to Specifications
Ensuring bolts and fasteners are tightened to the correct specifications is crucial for safe and effective gas shock installation. Proper torque prevents components from loosening or failing under pressure.
Use a torque wrench to meet the recommended settings listed in your vehicle’s manual. Tighten bolts gradually in a crisscross pattern to spread pressure evenly and avoid damage.
Make sure all fasteners are snug but not over-tightened, as this can strip threads or distort mounting points. Always verify torque specs before tightening.
Use a clean, dry wrench for accurate readings. Tighten in stages and check the torque after each pass to ensure precision.
Avoid applying sudden, excessive force when tightening. Following these steps helps create secure connections, reduces the risk of loosening, and prolongs shock performance.
Proper bolt tightening and adherence to torque specifications are essential for a safe, reliable shock installation.
Lower Your Vehicle and Test the Shock Function
Gently lower your vehicle back down to the ground, just make sure it’s stable and secure once it’s settled. After that, give the bumpers a press to see how the shocks respond. If they move smoothly and quickly, then everything’s probably working just fine.
Safely Lower the Vehicle
Have you securely lowered your vehicle before testing the shock? Verifying it’s stable helps prevent accidents and ensures accurate assessments. Once lowered, check that the vehicle is on a flat surface with the parking brake engaged.
Then, gently push down on the vehicle to see if it bounces smoothly, which indicates proper shock operation. Remember, a proper wheel alignment helps maintain even tire wear and prevents uneven stress during testing.
Also, test the brake performance to make sure responsiveness isn’t affected by the shock replacement. Confirm the vehicle is stable before measurement and use wheel chocks for added safety.
Inspect for any unusual bouncing or noises, and double-check that the parking brake is engaged. These steps are key for a safe and effective testing process.
Assess Shock Responsiveness
Once you’ve lowered the vehicle onto a stable surface, gently push down on the body near each shock absorber to test their responsiveness. A good shock absorber should smoothly compress and rebound without excessive bounciness.
Check for fluid leakage around the shock. Fluid leakage indicates a failing shock that can’t dampen impacts effectively. If the shock feels stiff or overly bouncy, it’s time to replace it.
Here’s a quick visual guide:
| Response | Observation | Potential Issue |
|---|---|---|
| Smooth compression/rebound | Shock absorbs impact efficiently | Shock is functioning properly |
| Excessive bounciness | Shock rebounds too quickly or fully | Worn or damaged shock |
| Fluid leakage | Visible fluid around shock or on strut | Shock has failed, needs replacement |
| Stiff or unresponsive | Little to no movement when pushed | Shock is seized or broken |
Take Your Vehicle for a Test Drive and Perform Routine Checks
Before hitting the road, it’s important to take your vehicle for a test drive to make sure the gas shocks are working properly. Pay attention to how your car handles, especially over bumps or uneven surfaces, to see if the ride feels smooth.
Before driving, test your vehicle to ensure the shocks perform smoothly over bumps and uneven surfaces.
During the drive, listen for any strange noises or clunks that could indicate problems. Afterward, do some basic checks like inspecting your tire pressure and looking inside the vehicle. This helps confirm no new squeaks or rattles have appeared, which might point to shock issues.
Checking your engine diagnostics can also reveal underlying problems that affect ride quality. Keep these steps in mind:
- Notice if the car feels more stable and controlled.
- Listen for any new creaks or noises.
- Look inside for unexpected vibrations.
- Test ride comfort over different roads.
Following this process ensures your shocks are installed right and working properly, keeping your drive safe and comfortable.
Frequently Asked Questions
Can Gas Shocks Be Installed on Any Vehicle Model?
Gas shocks aren’t compatible with every vehicle model, so you need to check vehicle compatibility before starting.
Shock replacement tips include verifying the make and model to guarantee the shocks fit properly. You’ll want to consult your vehicle’s manual or a professional to confirm the shocks are suitable.
Proper installation avoids damage and maintains vehicle performance, so take the time to select the correct gas shocks for your specific vehicle.
How Do I Know When to Replace My Gas Shocks?
You know it’s time to replace your gas shocks when your ride feels bouncy or uneven, or if your vehicle drags when going over bumps. Keeping up with shock maintenance is important for both safety and comfort.
Other signs include excessive fluid leaks or if your shocks aren’t controlling movement like they used to. Don’t ignore these warning signals.
Replacing your shocks quickly helps ensure your vehicle handles well and stays stable on the road.
Are Specialized Tools Required for Gas Shock Installation?
You’re not stepping into a high-tech lab, but installing gas shocks does require specific tools.
You’ll need basic tools like a socket wrench, screwdrivers, and possibly a spring compressor.
Special tools aren’t always necessary, but compatibility considerations matter—so double-check the shock specifications to make sure they fit your vehicle.
Think of it as fitting puzzle pieces together—you’ll need the right tools to make everything click smoothly.
What Safety Precautions Should I Take During Installation?
You should wear safety gear like gloves and safety glasses to protect yourself during installation.
Make sure your working area is clean, well-lit, and free from clutter to prevent accidents.
Always follow manufacturer instructions and use proper tools.
Before starting, secure the vehicle and never work under a raised component unless it’s properly supported.
How Long Does the Installation Process Typically Take?
They say “time is money,” so expect the installation of a shock absorber to take about 1 to 2 hours, depending on your vehicle compatibility and experience.
You’ll need to remove the old shocks and secure the new gas shocks correctly. If your suspension system is complex, it might take longer.
Having the right tools on hand can also help speed up the process and ensure a proper installation.
Conclusion
By following these steps, installing gas shocks becomes a manageable task—like tuning a fine instrument. Your vehicle will ride smoother, handle better, and look improved, all with a bit of careful effort.
Remember, every detail counts, so take your time and double-check your work. Before hitting the road, give everything a thorough test drive and routine inspection.
With patience and precision, you’ll enjoy a performance that feels as precise as a well-composed symphony. Properly installed gas shocks make all the difference in your vehicle’s ride quality and handling.